How to Build a Router Bit Storage Cabinet
Plans available for purchase here.
Video, Photos, Plans and Content by Jason Bent
written by Ben Marshall
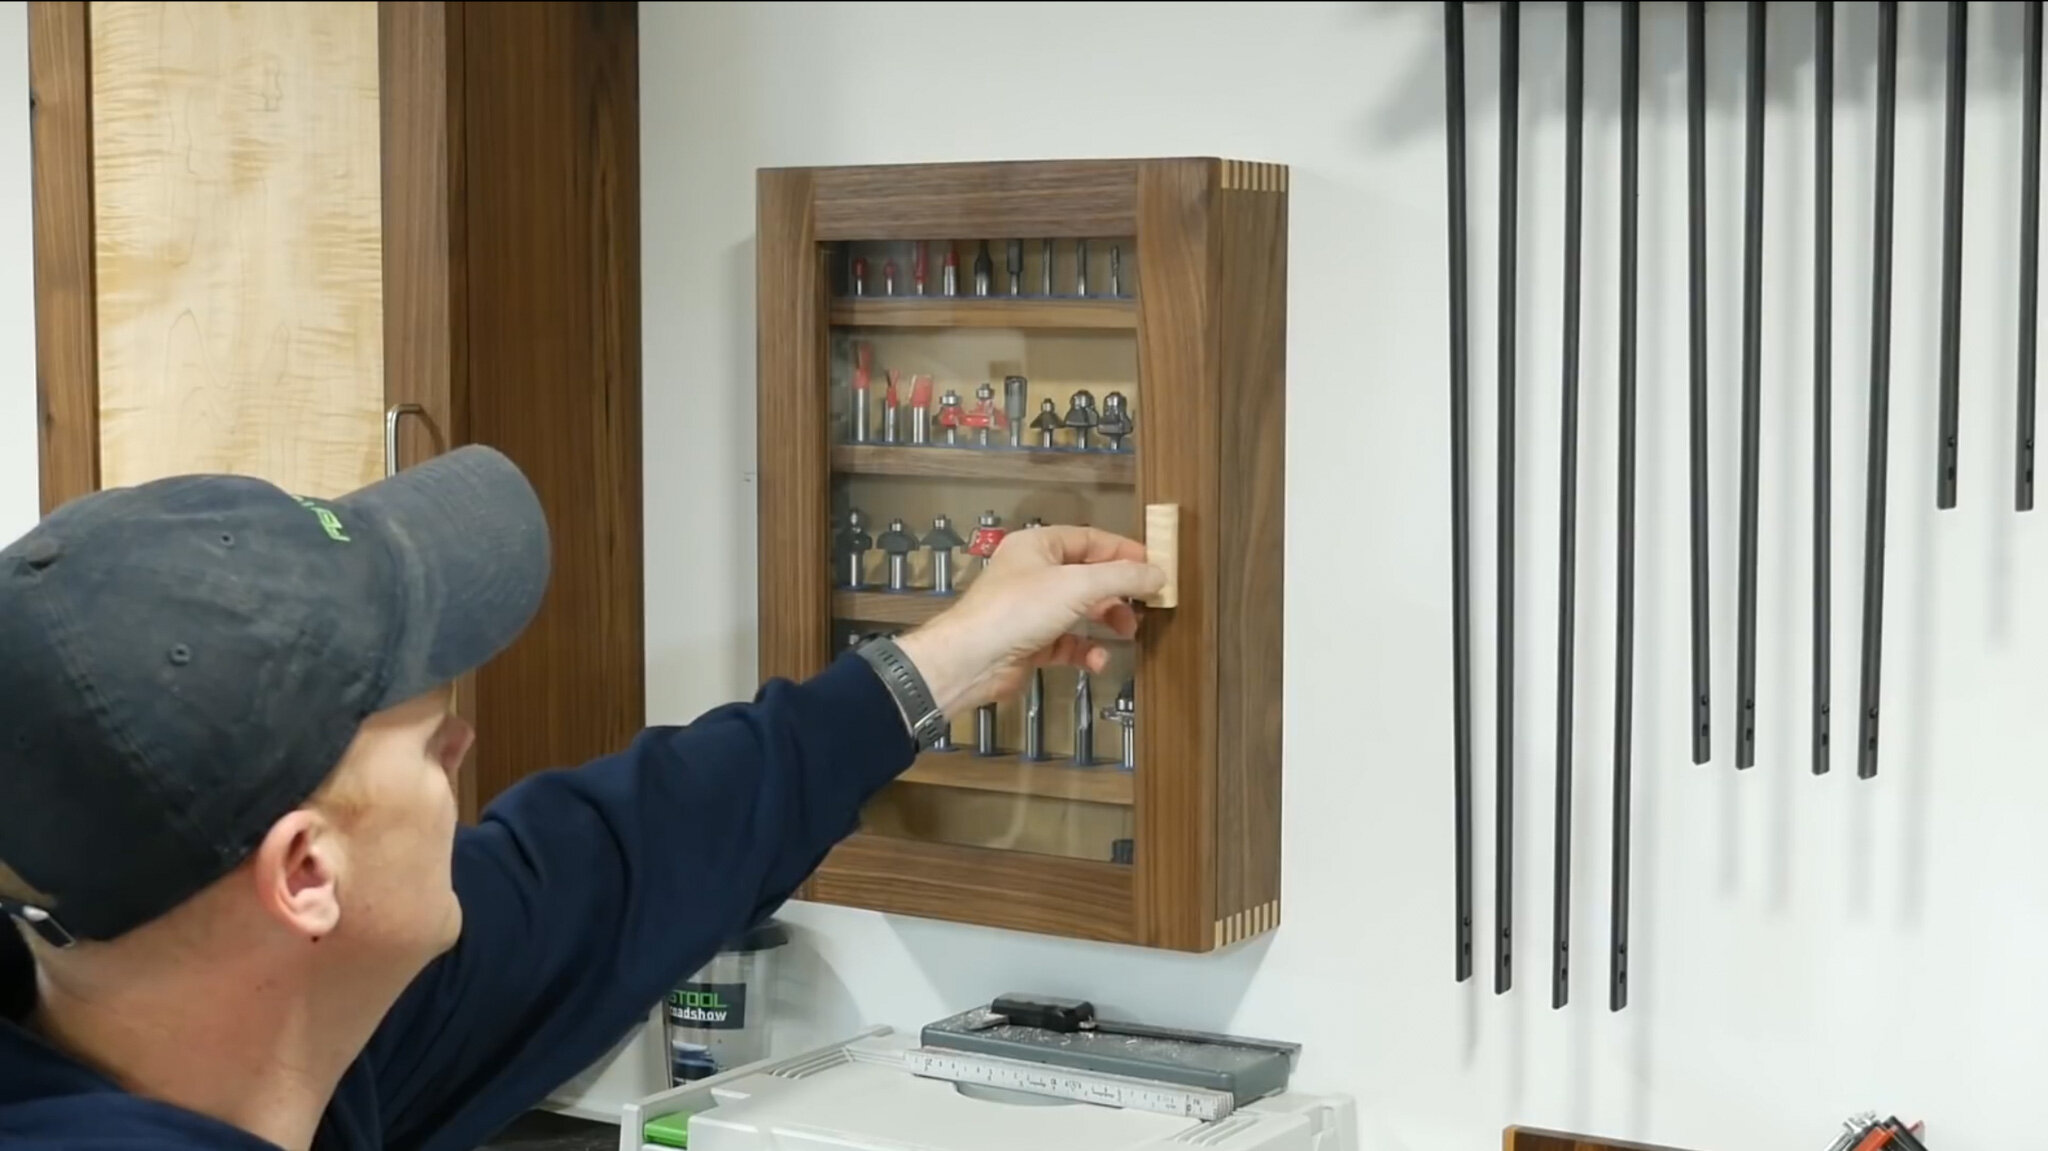
This router cabinet really improved the organization in my shop. I like having my bits visible, organized and easy to reach for that next project.
The router is a fundamental and almost universal tool in any woodworkers shop; from dados and grooves to edge profiling and rabbeting - the router does it all. Routers accept a wide range of bits that come in many different shapes and sizes, all serving different purposes yet they have the same goal - adding accents and features that can make any project pop.

Heat is the biggest factor that dulls the sharpness of tooling, which is why Bits&Bits uses a tool coating technology called HP Astra, which helps reduce the build up of heat and can extend the life of their milling tools by 3x.
I’m really big on shop organization, and router bit storage is no exception. I wanted a solution to keep my bits secured in an organized and easy to reach area. Organization in my shop is paramount to maintaining a productive workflow and is good practice no matter what craft you employ. With this in mind, I set out to build a proper storage cabinet for my newly delivered Astra coated Whitesides Router Bits, provided to me for free by Bits & Bits - an Oregon based company that specializes in wood carving and milling tools and blades. I cannot recommend this company enough - their products, bit coating technology (HP Astra), customer service and tool selection are top notch. If you want to know more about them and what they do, you can visit their website here.
“The building process starts BEFORE you even step foot in the shop”
It’s no secret that I’m a HUGE fan of walnut - this dark grained American hard wood is a staple in my shop and I use it any chance I get. I also used some Maple to offer a brilliant contrast to the dark walnut. Without further delay - lets get into the steps I took to build my Router Bit Storage Cabinet.

Rough cutting my materials after selecting the best pieces.
With any project, the building process starts before you even step foot into the shop. I made sure that I reviewed my parts, cut list and plans to prevent any mishaps along the way. I cannot stress the importance of checking your cut list before getting started - you can avoid MANY errors by having a plan.
After reviewing the plan, I inspected and selected the materials for my project. Proper wood selection is vital to all projects, so ensure you select the right species, cut and grain quality for the job. For this particular build, I selected some scrap flat sawn stock laying around my shop. Flat sawn wood is prone to movement across the grain. This cabinet is non-load bearing and will be affixed to my wall, so I’m not too concerned about wood movement and will keep the grain parallel to the wall it’s mounted to.
Next, I went to the joiner to square one face grain and edge grain sides. If you want to see my milling process, you can watch this video here.

Running one face, and one edge grain through the joiner. Getting square stock is essential in nearly every project.

After checking the corner down and along the board length for squareness, I ran the opposite face through the thickness planer to get both faces parallel. Next was to square up the edge grains.

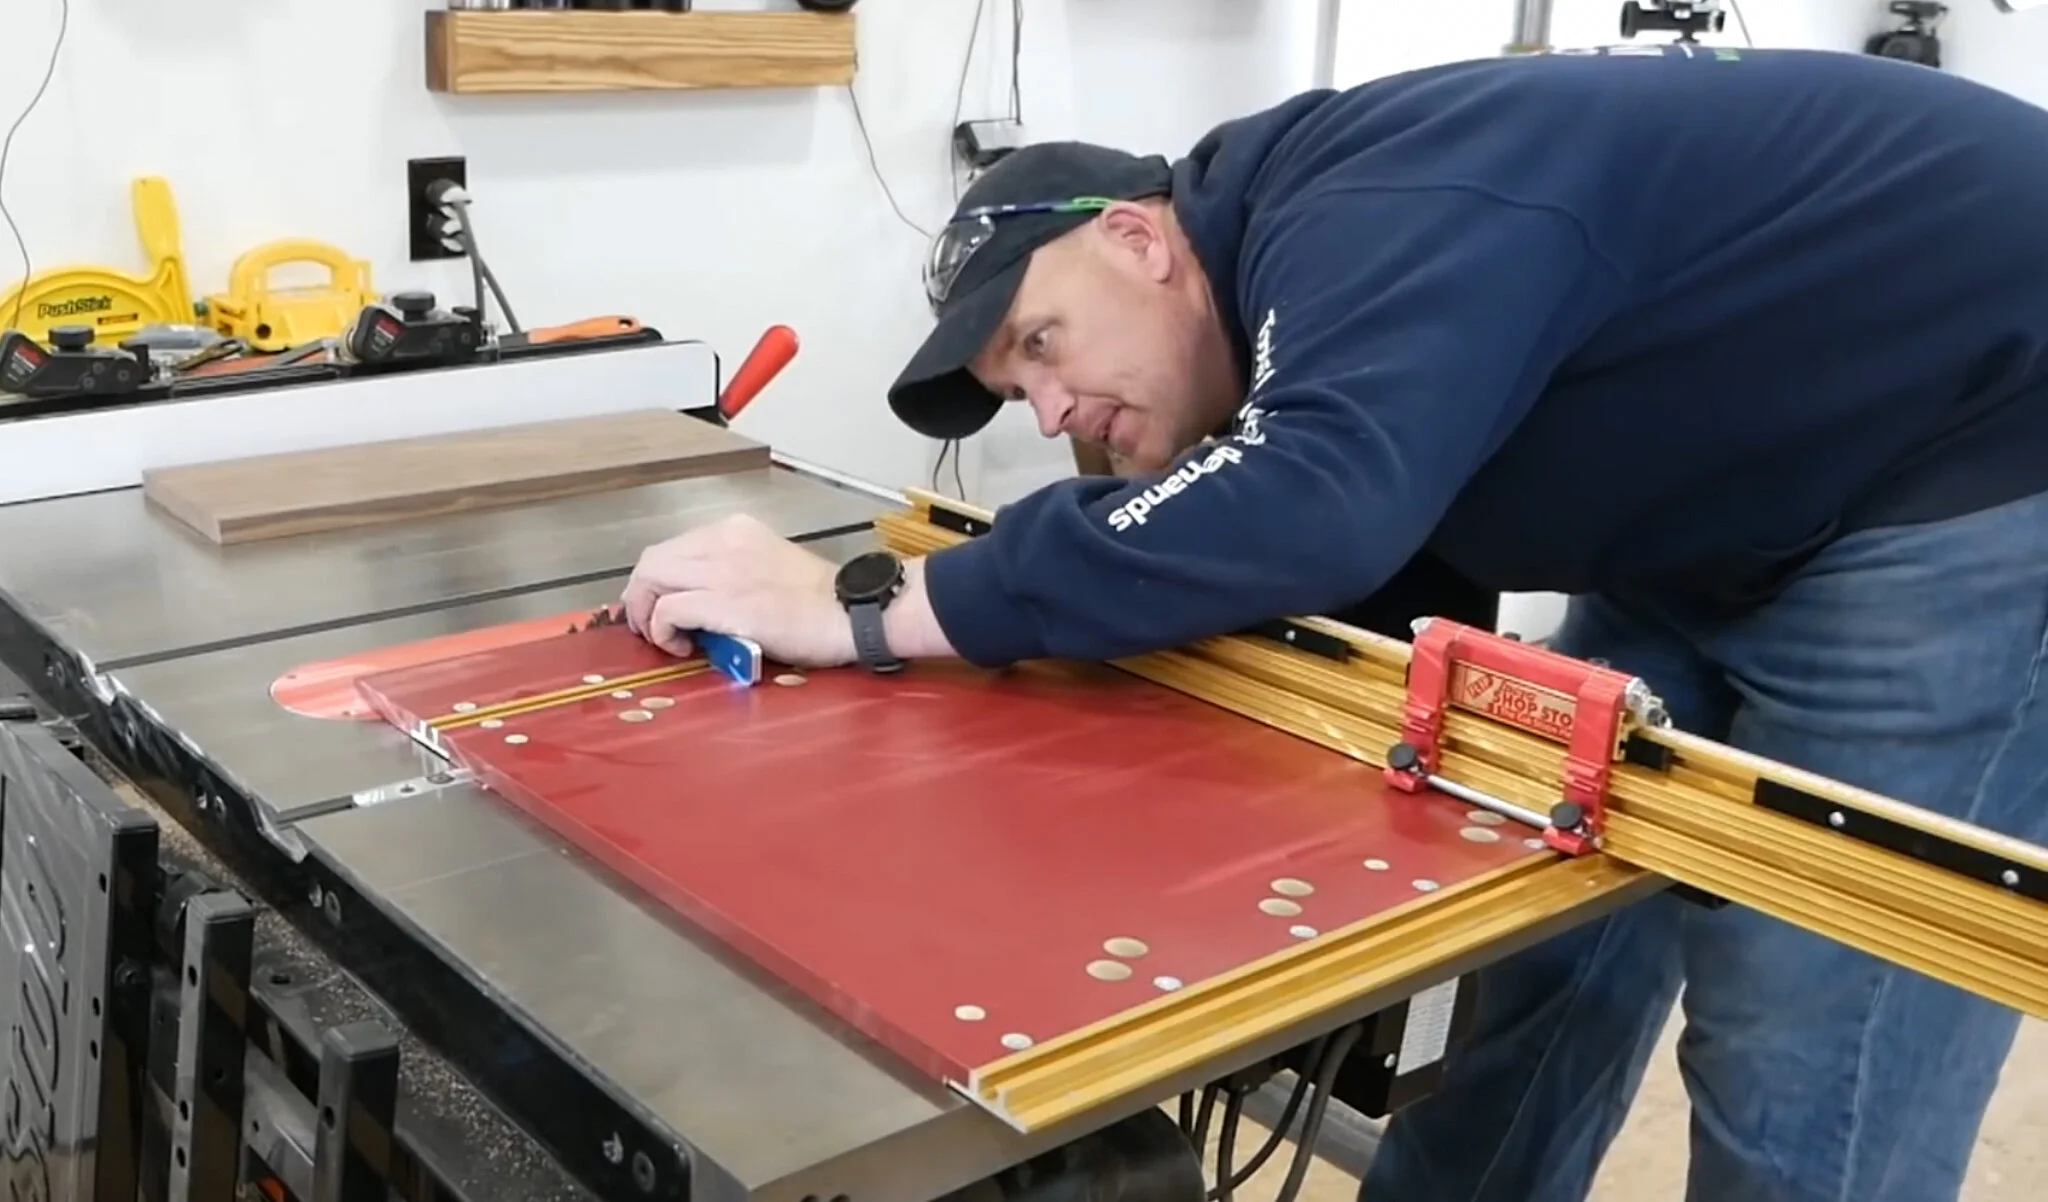
With three of four face sides square, I ran the joined edge along my fence on the table saw to square up the opposite edge.
Setting the blade height for dados. Always set the height of your blade from the surface your piece will be resting on; which in this case is my Incra MITER5000 Miter 5000 Table Saw Miter Gauge with Sled and Telescoping Fence.
With this cabinet, I’m using dados on the interior of both sides to receive the shelf panels for my bits. I want the interior dados to match on each side of the cabinet, so I’m cutting my dados on the full width of the board before ripping it into the final two sides of the cabinet. This might seem a little backwards, however I’m using finger joints to join the cabinet, and wanted to use final thickness dimensions before I ran the ends through my router table.

Using a spacer clamped to my fence. The workpiece is positioned by touching it, and when pushing the sled, it creates space between the end grain and the fence - preventing a bind up and potentially dangerous kick back. Use this technique when crosscutting narrow stock that is less than 12 inches wide.

With the dados all cut, I can now rip this stock into two pieces, which will become the sides of the cabinet.

Ripping the sides. While at the table saw, I ripped both pieces to the final width.

Dimensioning lumber using the Powermatic - 8" Jointer with Helical Cutterhead, Model 60HH
While at the table saw, I ripped the maple sides and walnut shelves to width. With all my components ripped, it was time to get them all down to the proper and uniform thickness. Having a thickness planer and drum sander makes this process really quick without compromising the quality of the finish.

Finalizing the thickness on the Super Max 19-38 Drum Sander

After ripping and planing to final dimensions, I moved all pieces to the mitre saw to cut to final length.

Installing the rabbet bit
The first passes on my router table were the shelves for the cabinet. Using a rabbeting bit, I ran a test piece first to make sure the router height was dialed in before using the project materials. The shelves will have tenons on both ends, which will fit in the dados I cut in the cabinet sides earlier. I used the test piece to ensure a proper fit; once I could slide the tenons in the dados without resistance, I could move onto processing all of the shelves.

Using a test piece to fine tune the proper height before making tenons on the walnut shelves. It’s important to use a test piece that has the same thickness and width of your actual project materials.

A proper fit after putting tenons on the test piece.
After fine tuning the router bit, I processed the walnut shelves and moved onto the finger joints for the cabinet sides.
Next, I switched out the rabbet bit for a 1/4 inch straight bit to cut the finger joints. I gang routed both boards at the same time, this ensures uniformity and expedites the process. Notice that I’m using a large sacrificial surface on the mitre fence to provide ample support for batching multiple boards. Once all four sides were jointed, I did a dry fit before moving onto the next step.

Using the Incra router station makes finger joints a breeze.

Dry fitting the finger joints before cutting the groove for the back panel. It’s important to test fit before moving onto whatever the next step in the process is - this ensures you can correct any errors and wastes less materials if you have to start over.
Using the same 1/4 inch bit, I put some grooves on the back of each side of the cabinet, which will accept the back panel going into the cabinet. To preserve the fingers on the joints on the top and bottom pieces, I slowly dropped one end on the router bit just behind the finger joint, passing it over the bit, and lifting it just before the opposite finger joint. This method is a little more time consuming, but gives a better aesthetic overall. The groove lined up with a finger gap on the two side pieces, so I was able to just run it straight through the router bit.
When cutting a back panel for grooves, it’s important to take the inside measurements of the cabinet or carcass, then add the depth of your grooves on each side - which will give the final dimension of your panel. For instance, if your interior dimensions were 100mm x 50mm, and your grove depth was 6mm all around, then your final panel dimensions would be 112mm x 62mm (adding 12mm total to width and length, accounting for the grooves on each side).

Plunging on the inside of the finger joints. On finger joints, you can get by with ripping straight through, as the groove will line up with a finger gap. However, on the tops and bottoms, the groove lined up with a pin, so I had to drop the piece onto the router bit just behind the pin.

With the groove cut into all sides, I took the inside measurements accounting for the depth of the groove and cut the back panel to fit.
With my measurements calculated, I used my table saw to rip some 1/4 inch maple plywood, and cross cut the final length at the mitre saw. I did another dry fit assembly to ensure all my pieces fit properly before glueing the carcass and back panel together.

With everything fitting properly, it was time to glue it all up!

Inspecting for any additional squeeze out after getting the cabinet in clamps. Notice where I positioned the parallel clamp heads just to the inside of the finger joints. Sometimes the pins can protrude a little, and to ensure the joints are tight you want to keep the pin area clear to allow for a proper fit.
When gluing finger joints, it’s important to coat as many surface areas as possible. I use a small bristle brush to reach the tight 1/4 inch gaps in the finger joints. Always pay attention to how your carcass comes together, it’s easier to assemble the bottom first, then the two sides, slide the back panel in, and then glue the top.
To assist in keeping everything square, I used some Woodpecker corner clamps. These are really handy for keeping smaller stock square and clamps on the inside (or outside). Once those were in place, I grabbed four parallel clamps to apply the final pressure, making sure that I did NOT clamp on the finger joints, but just behind each joint line.
After letting the cabinet dry overnight, I cleaned up any gaps and imperfections in the joints using a dab of wood glue and walnut saw dust. Rubbing it into the gaps and imperfections leaves a clean and tight looking joint. After letting that dry for an hour, I did some light sanding to soften the hard edges on all the corners and smooth out the finger joints.

This trick is great for fixing, repairing or hiding any imperfections, tear outs or small mistakes made when making finger joints.

Cleaning up the corners. It’s important to not apply too much pressure (unless you’re using a hard pad backing) as you’ll easily round over the corners and give an inconsistent look and feel.
Moving onto the door, I needed to process the styles and rails. Instead of using plywood or MDF for the panel, I used a sheet of polycarbonate (plexiglass). Using the same 1/4 inch straight bit, I plunged the styles onto the bit just before the ends, which keeps the panel groove concealed near the ends. I just a pencil line on the face of each piece to mark where I need to stop when passing over the router bit. I tested the groove on the plexiglass for proper fit. Next, I marked and plunged the appropriate places with a domino, which helps keep the pieces aligned during glue up and provides added strength to the joint. After a quick dry fit, it was on to trimming the plexiglass and then the glue up.

Plunging the style onto the same 1/4 router bit. This allows me to cut a concealed groove to accept the plexiglass panel.

Testing the fit of the plexiglass in the groove on the rail of the door.

Adding mortises to the rails and styles to accept the dominos.

Always test fit before you glue! Ensuring my mortises and dominos give way to properly aligned and square door. Up next is trimming the plexiglass.
I used my table and mitre saws to dimension the plexiglass. When trimming plexiglass, it’s best to use a fine tooth blade as it helps reduce tear out and cracking along the cut edge. After doing yet another dry test fit, it was time to glue it and assemble.

Ripping the plexiglass on the table saw. Advancing the glass slow and with the shrink wrap still on is paramount to a clean cut.

Test fit before glue up. Notice a pattern yet??

Crosscutting to final length. A fine tooth blade on the mitre saw leaves a cleaner cut.

Quick glue up and allowed to dry overnight.
After allowing the door to dry, I began installing the hinges. Using scraps, I positioned the door and cabinet carcass side by side and at the same height. I used a scrap piece of 1/4 plywood as a spacer between the carcass and door. Because I want to be able to reposition the shelves as time goes on, I needed the door to be completely out of the way of the dados when opened. Laying the hinges centered, I traced the outer edges with a pencil on both pieces. Then, I used a palm router set at the depth of the hinge thickness to route away close to the trace line. I squared the rest of the material with a mallet and chisel.

Using a thin mechanical pencil to traces the shape of the hinges. Notice that the door and cabinet are spaced properly for movement and clearance of the dados.

Using some 1/4 inch plywood as a spacer, marking the outline of the hinge on both the cabinet and door.

Free-handing with a palm router can be dangerous, always use precaution when handling as it can easily get away from you. Taking your time to notch away close to the line, but never over.

Cleaning up the hinge positions with a mallet and chisel - a rare site in my power tool dominated shop!
Installing this style of hinges was a first for me, although it wasn’t hard. My self centering bit was too large to fit inside the hinge mounting holes, however it could still mark the holes, so I used a smaller drill bit to pilot the holes for the screws. After getting the hinges installed, I moved to the drill press to pilot out the holes for my router storage inserts.

Using a clamp ensures the alignment is correct and acts as a third hand. When driving small hinge screws, best practice is with a hand driver and not a power tool - which can strip away screws very easily and quickly.

I remarked the holes for the router bit inserts, two shelves for small bits and two shelves for larger bits.
To help keep the door closed, I installed two magnets: one on the door frame and the other on the end grain of the cabinet side, nestled between two dados. Using the magnet gave a really clean look as opposed to using a latch.

Using CA glue to secure the rare earth magnets. This is a great way to keep cabinet doors closed while maintaining a clean aesthetic.
Next, I wanted to make my own door pull. Using a cove bit, I ran a thin piece of maple stock through the router on both sides, which gave a really nice profile and feel the the pull. To add it to the door, I marked the center of the door, and used some CA glue to hold it in place. I then flipped it over and drilled some pilot holes and screws to secure it to the door.

Using the Bits & Bits cove bit to shape the drawer pull.

Cutting the pull to length on the mitre saw.

Using some Starbond Medium and Accelerator to secure the pull before attaching with screws from the backside.

Piloting, countersinking and driving screws is much easier with the pull affixed to the front side.
In hindsight, I should have applied the finish before assembling the door as I had to tape off the plexiglass as to not get finish on it. Nevertheless, I surprisingly used some General Finishes Arm-R-Seal instead of Rubio on this project.

Adding painters tape allows for an easier clean up when using General Finishes finisher.

This is one of my favorite parts of every project - seeing the grain come through during the finishing process. Also, I love walnut - like really really love walnut if you can’t tell!!!
I applied the General Finishes Arm-R-Seal to the inside and outside of all the components. This finish is super easy to apply and leaves an impeccable finish on wood surfaces.
I used some router bit storage inserts from Rockler on the four shelves. Installing them was easy - just push them into each hole and a small lip on each grommet stops it from going all the way through the hole.

These inserts were so easy to install. Just friction fit inside the drilled holes - a small lip prevents them from falling through and holds the bits securely.

Using the French cleat to mount it to the wall.
I used a French cleat to mount the cabinet to to wall after sorting and inserting all of my most used router bits in the cabinet. Because I used a lot of dados, the cabinet is pretty flexible and adjustable in accommodating for different size bits.
I really like this addition to my shop and the organization it brings. It was a fun project and really easy to do. This whole project could be made on the table saw, however you won’t be able to hide the groves for the paneling.
Thank you for taking the time reading this blog post. You want to see the full video for this build, you can view it HERE. Leave any questions you have in the comments below!
See you in the next blog post!