How to Build a Floating Nightstand
Copy by Ben Marshall
Video by Jason Bent
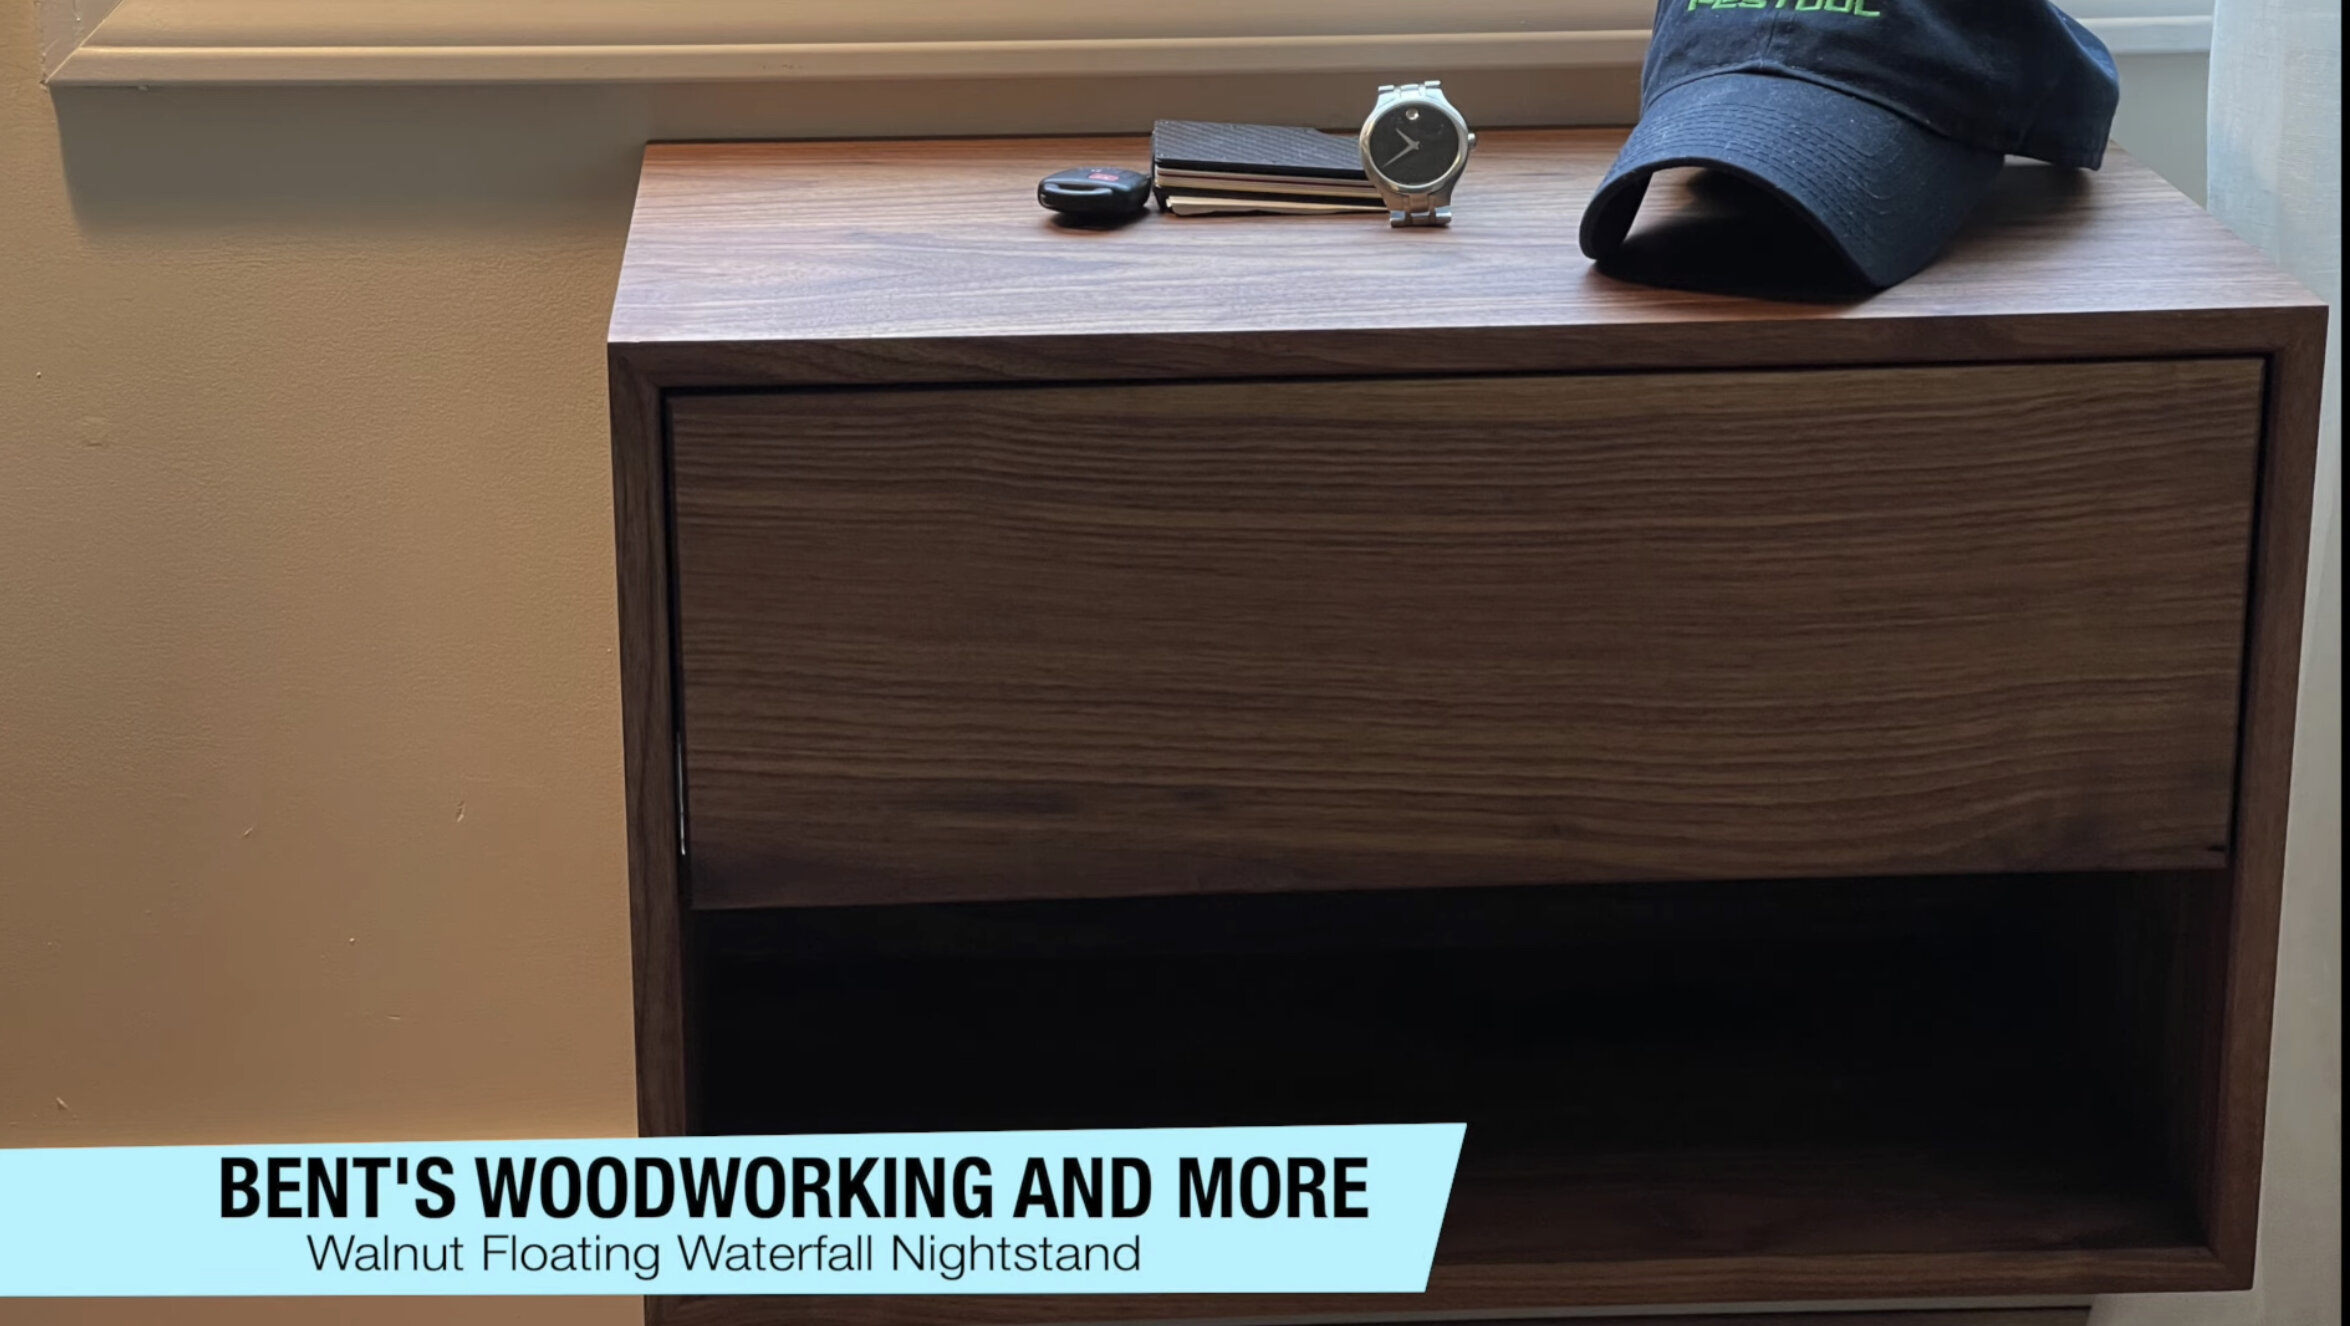
Nightstands have been a staple of bedroom furniture for what seems like forever. Whether you keep your phone, favorite book or really anything close by, the convenience and utility offered by a nightstand is irreplaceable. For this project build, I wanted to construct two floating nightstands, which mount directly to the wall and give a ‘floating’ appearance. I also wanted to use a grain continuation technique called ‘waterfall edges’. This technique isn’t required to make the nightstand, so don’t feel that you have to do it this way.
Waterfall edging in woodworking means that the grain in the wood continues in the same direction starting with one side and completing on the fourth side. This technique gives the piece a ‘wrapped’ appearance and is quite visually striking.
Achieving a waterfall edge is actually quite simple - no special tools are needed otherwise. When selecting a board for the project, you’ll want to choose one that is long enough to provide at least 3 sides of the nightstand (or any other piece you’re making). In most cases, the bottom of a piece will never be seen, so you don’t have to worry about having a waterfall edge; we’re only concerned about the 3 visible sides. As you’ll discover in these instructions, you’ll want to cut your components in sequence to length after milling.
Now that we’ve covered waterfall edges, let’s get into the build process.

When you select your wood for this project, or any project, you’ll want to mill and glue up your materials to the most manageable sized pieces. You should also select material that is wider than your final dimensions, or will add up to more than final after glue up. This extra material gives you a little bit of wiggle room in case you have to trim or sneak up to final dimensions after the milling and glueing process.
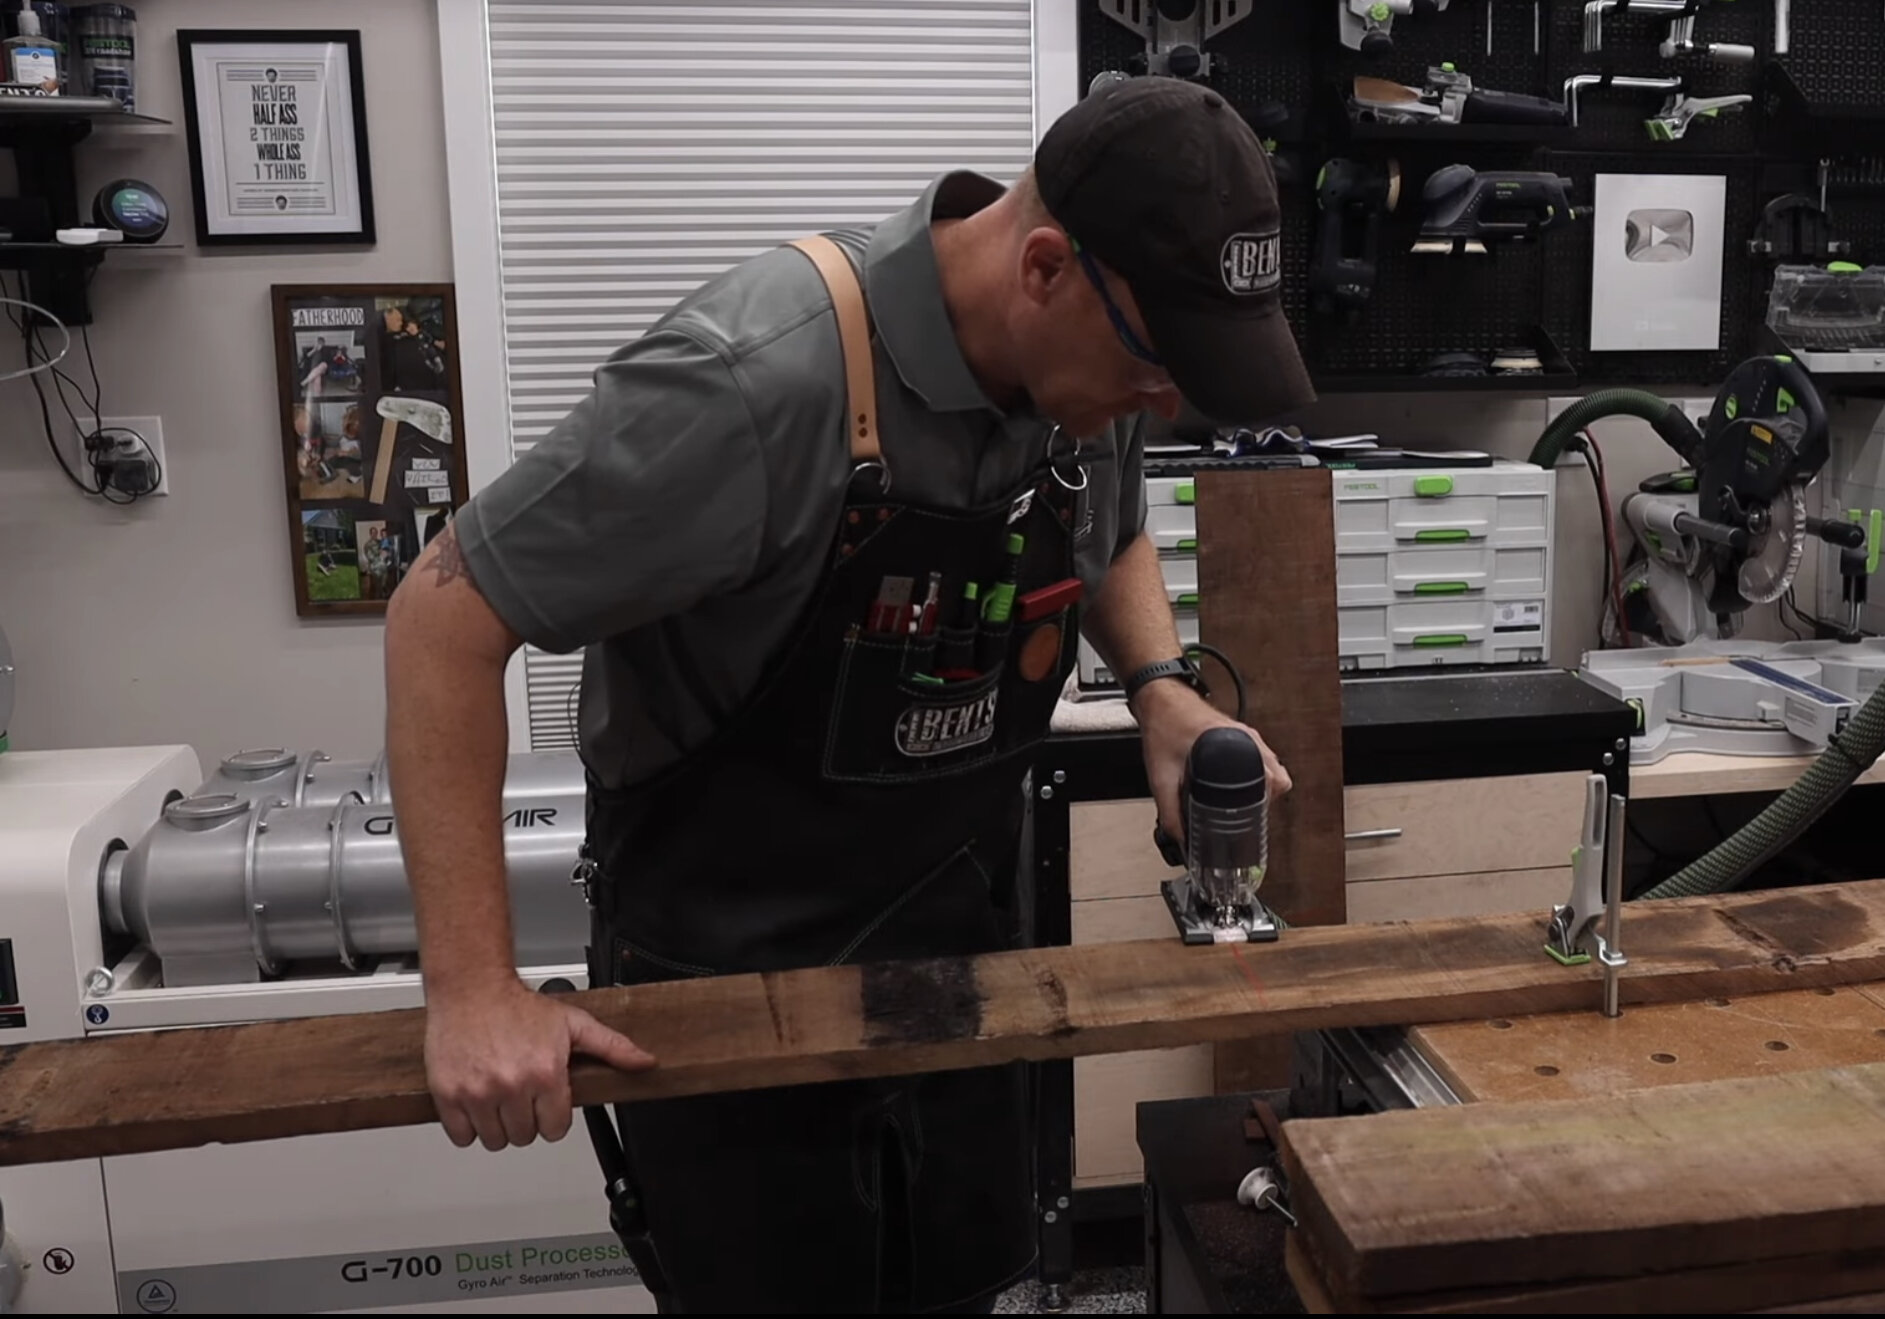
Because this lumber is still rough, I marked out my measurements and only cut the length that I would need for the 3 sides of the night stand. This makes the piece more manageable.

Because these nightstands are relatively small, I wanted to mill and glue up my panels with rough cut lumber that was easy to handle at the jointer and planer. This makes processing lumber, when alone, much safer and produces fewer mistakes while preserving the dimensions needed for the project.
After milling the rough lumber to dimensions, I began glueing up the panels that will eventually become the sides of the nightstands. I placed one clamp every 10-12 inches along the panel to ensure enough pressure, and used some ‘F’ style clamps on the ends of the panels to act as a board caul. After the clamps have been tightened, I like to go over the joint lines with a wet rag to wipe off any glue squeeze out - this makes sanding and finishing much easier and less time consuming.

No dominos for this panel glue up. These panels aren’t to final thickness yet, so I could afford to not use any joinery. I’ll use the drum sander to correct any high/low spots from the glue up.

Since this is only a two piece glue up, I used these small ‘F’ clamps to caul the boards.

Running pieces through the drum sander. The drum sander won’t get a perfect finish, but it will get the panels completely flat and at the exact thickness for this project.

After running the panels through the drum sander, I needed to square one edge on the new surface. Later I will run this fresh edge along my table saw fence to the final width.
After allowing the panels to dry overnight, I ran them through the drum sander to flatten out any high or low points. This also removes any defects from the glueing process and makes sanding by hand a breeze.
It’s important to note that exact dimensioning is of utmost importance with this project. To get perfectly mitered edges, you’ll need your materials to be plane, flush and square. Because the surfaces of the panels have been ‘re-planed’ by the drum sander, I needed to recut the edges again to make sure everything was square. One pass with a track saw, and the edge is square. I’ll square up the other edge later on the table saw to final width.
The drum sander flattens materials, and typically leaves a rough texture behind. Here I’m running over with a higher grit to remove the roughness. I’m using a grit one step lower from my final grit.
Next I moved each panel to the miter saw. With the fresh cut edge against the fence, I trimmed one end of each panel. This cut end will be placed against the two pre-measured flag stops on my miter saw station. Because we are going for the waterfall look, when you cut your panels, you should cut the dimensions in this order. Left Side Panel - Top Panel - Right Side Panel - Bottom Panel. Depending on which direction you want the grain to flow, you start with the right side panel. As long as your starting with a side panel, then the top, the the other side and finally the bottom - your good!

The first cross cut is to square up the end grains.

If you look in the bottom right of the picture, you can see two flag stops. This is a good practice even if you weren’t doing a waterfall edge, as we want to have a square carcass for the night stand. Having two positive stops means removes any variances in cut lengths.
I’m cutting my panels at 90 degrees because later I’ll be cutting my 45 degree miters on the router table. If you aren’t using a 45 degree miter bit on the router table, you can either make these cuts on the table saw or miter saw with the blade set at 45.
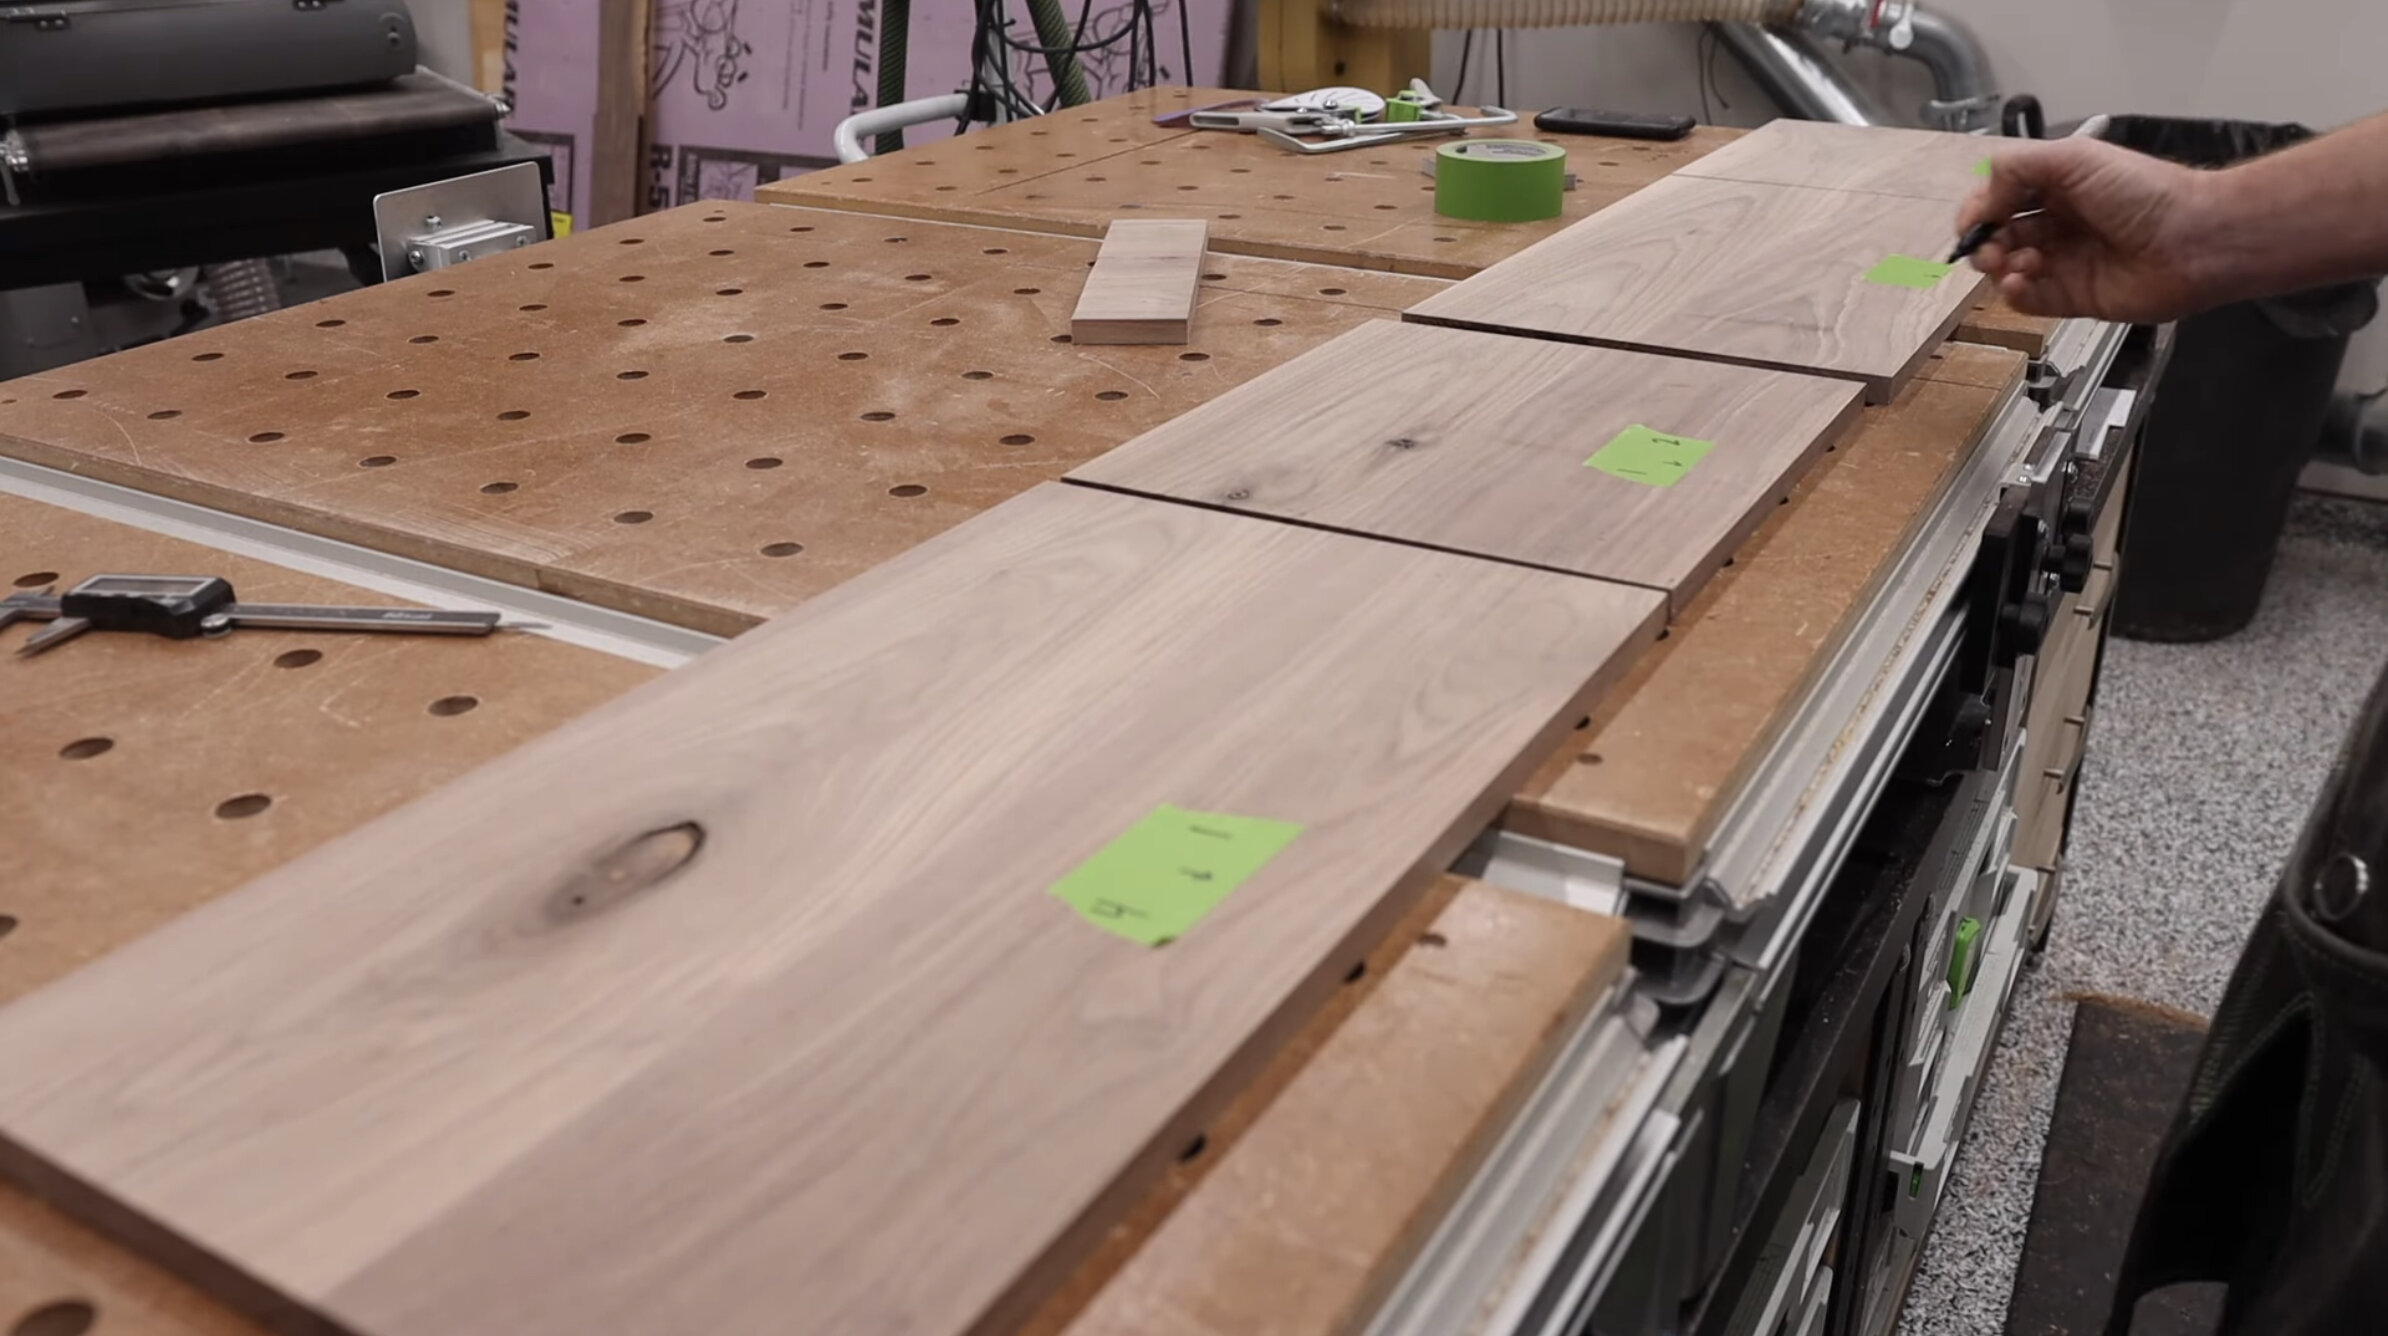
Once all of my pieces were cut, I laid them out in order and used some painters tape so that I can label each panel. Marking panels is critical to avoiding mistakes throughout the process.
Next, I moved onto the router table and began making the mitered ends with a 45 degree chamfer bit. This is my favorite method to make miters on smaller panels. The cuts are always at a perfect 45 degree miter (this is why planing is so important!) and they line up perfect in the corners. If you want to see how I set up my table and the overall process you can watch this video HERE.
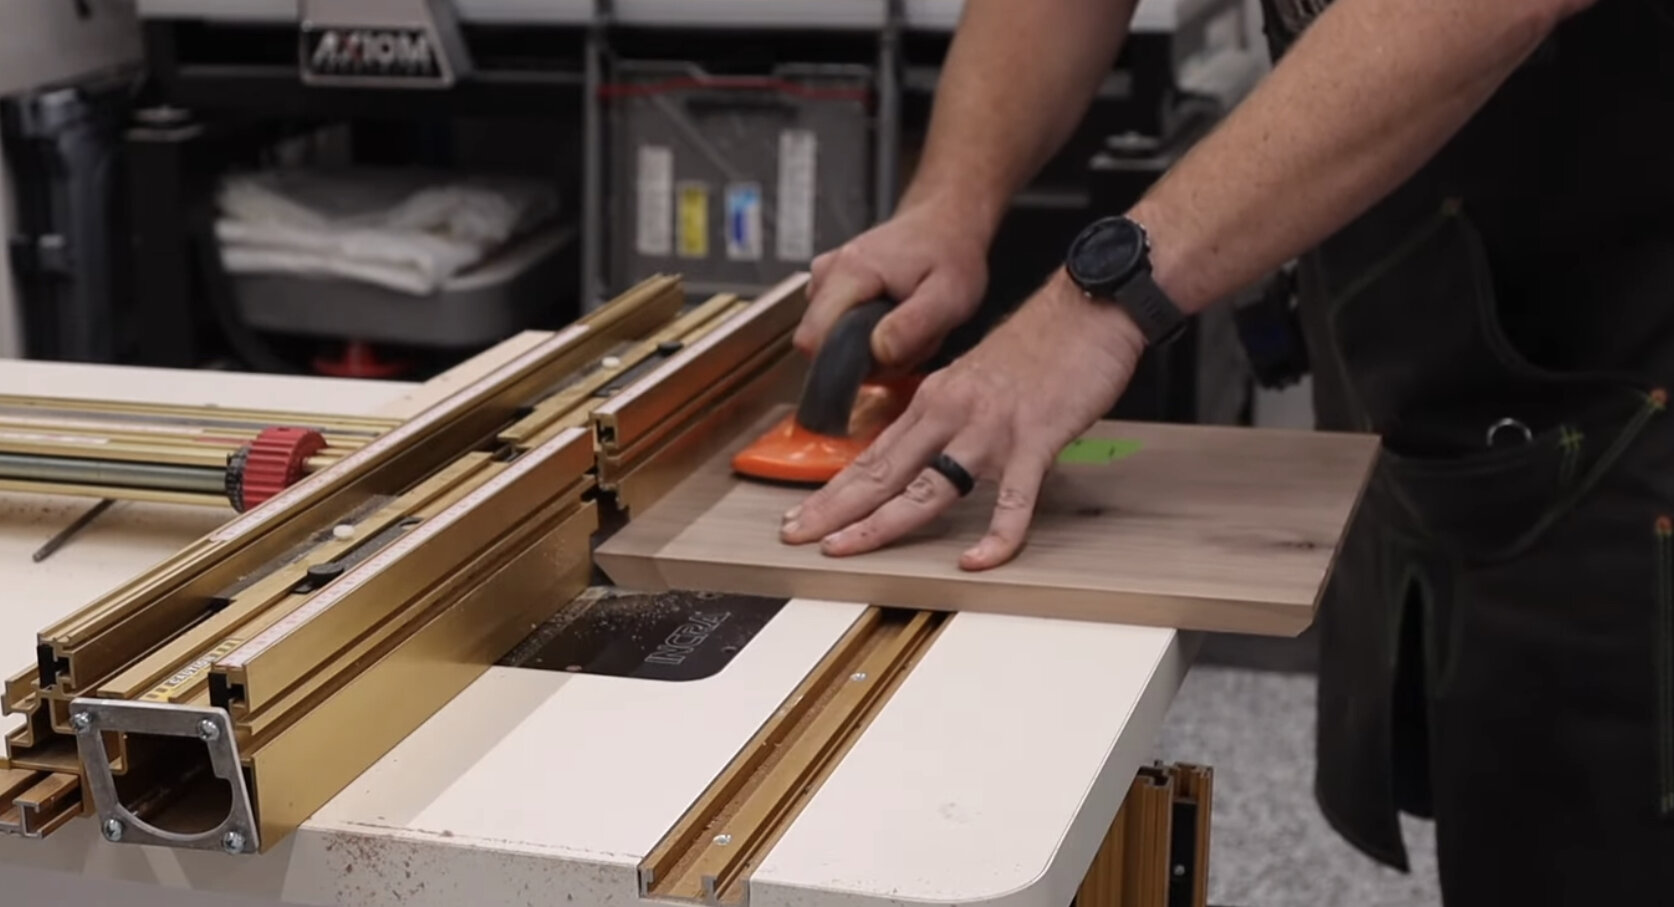
Using a chamfer bit on the router table to get perfect 45 degree miters. I creep cut the 45, making several passes until I work the angle to the end of the edge.

Using the domino on these miters helps keep the joints together during glue up.
Glueing up mitered panels can be finicky sometimes, so to help keep the miters aligned and together, I’m putting 2 dominos into each mitered edge. There are several ways you can secure a mitered corner - splines, dowels, pin nails and even some painters tape will do. I like to take the time to tape off the insides of my panels, as close to the mitered inside edge. After I glue, assemble and clamp the nightstand, I can peel the tape off - leaving a nice clean interior with minimal clean up required.

Applying patients tape to the inside corners before glue up.

Two band clamps was all this carcass needed to complete the assembly.
Clamping mitered corners can be tricky sometimes, and you can certainly do it with traditional clamps. However, these Bessey strap clamps work really well with these corners. Once you have your piece clamped up, makes sure you check square and make adjustments as needed. Allow the pieces to dry overnight, or about 8-12 hours.
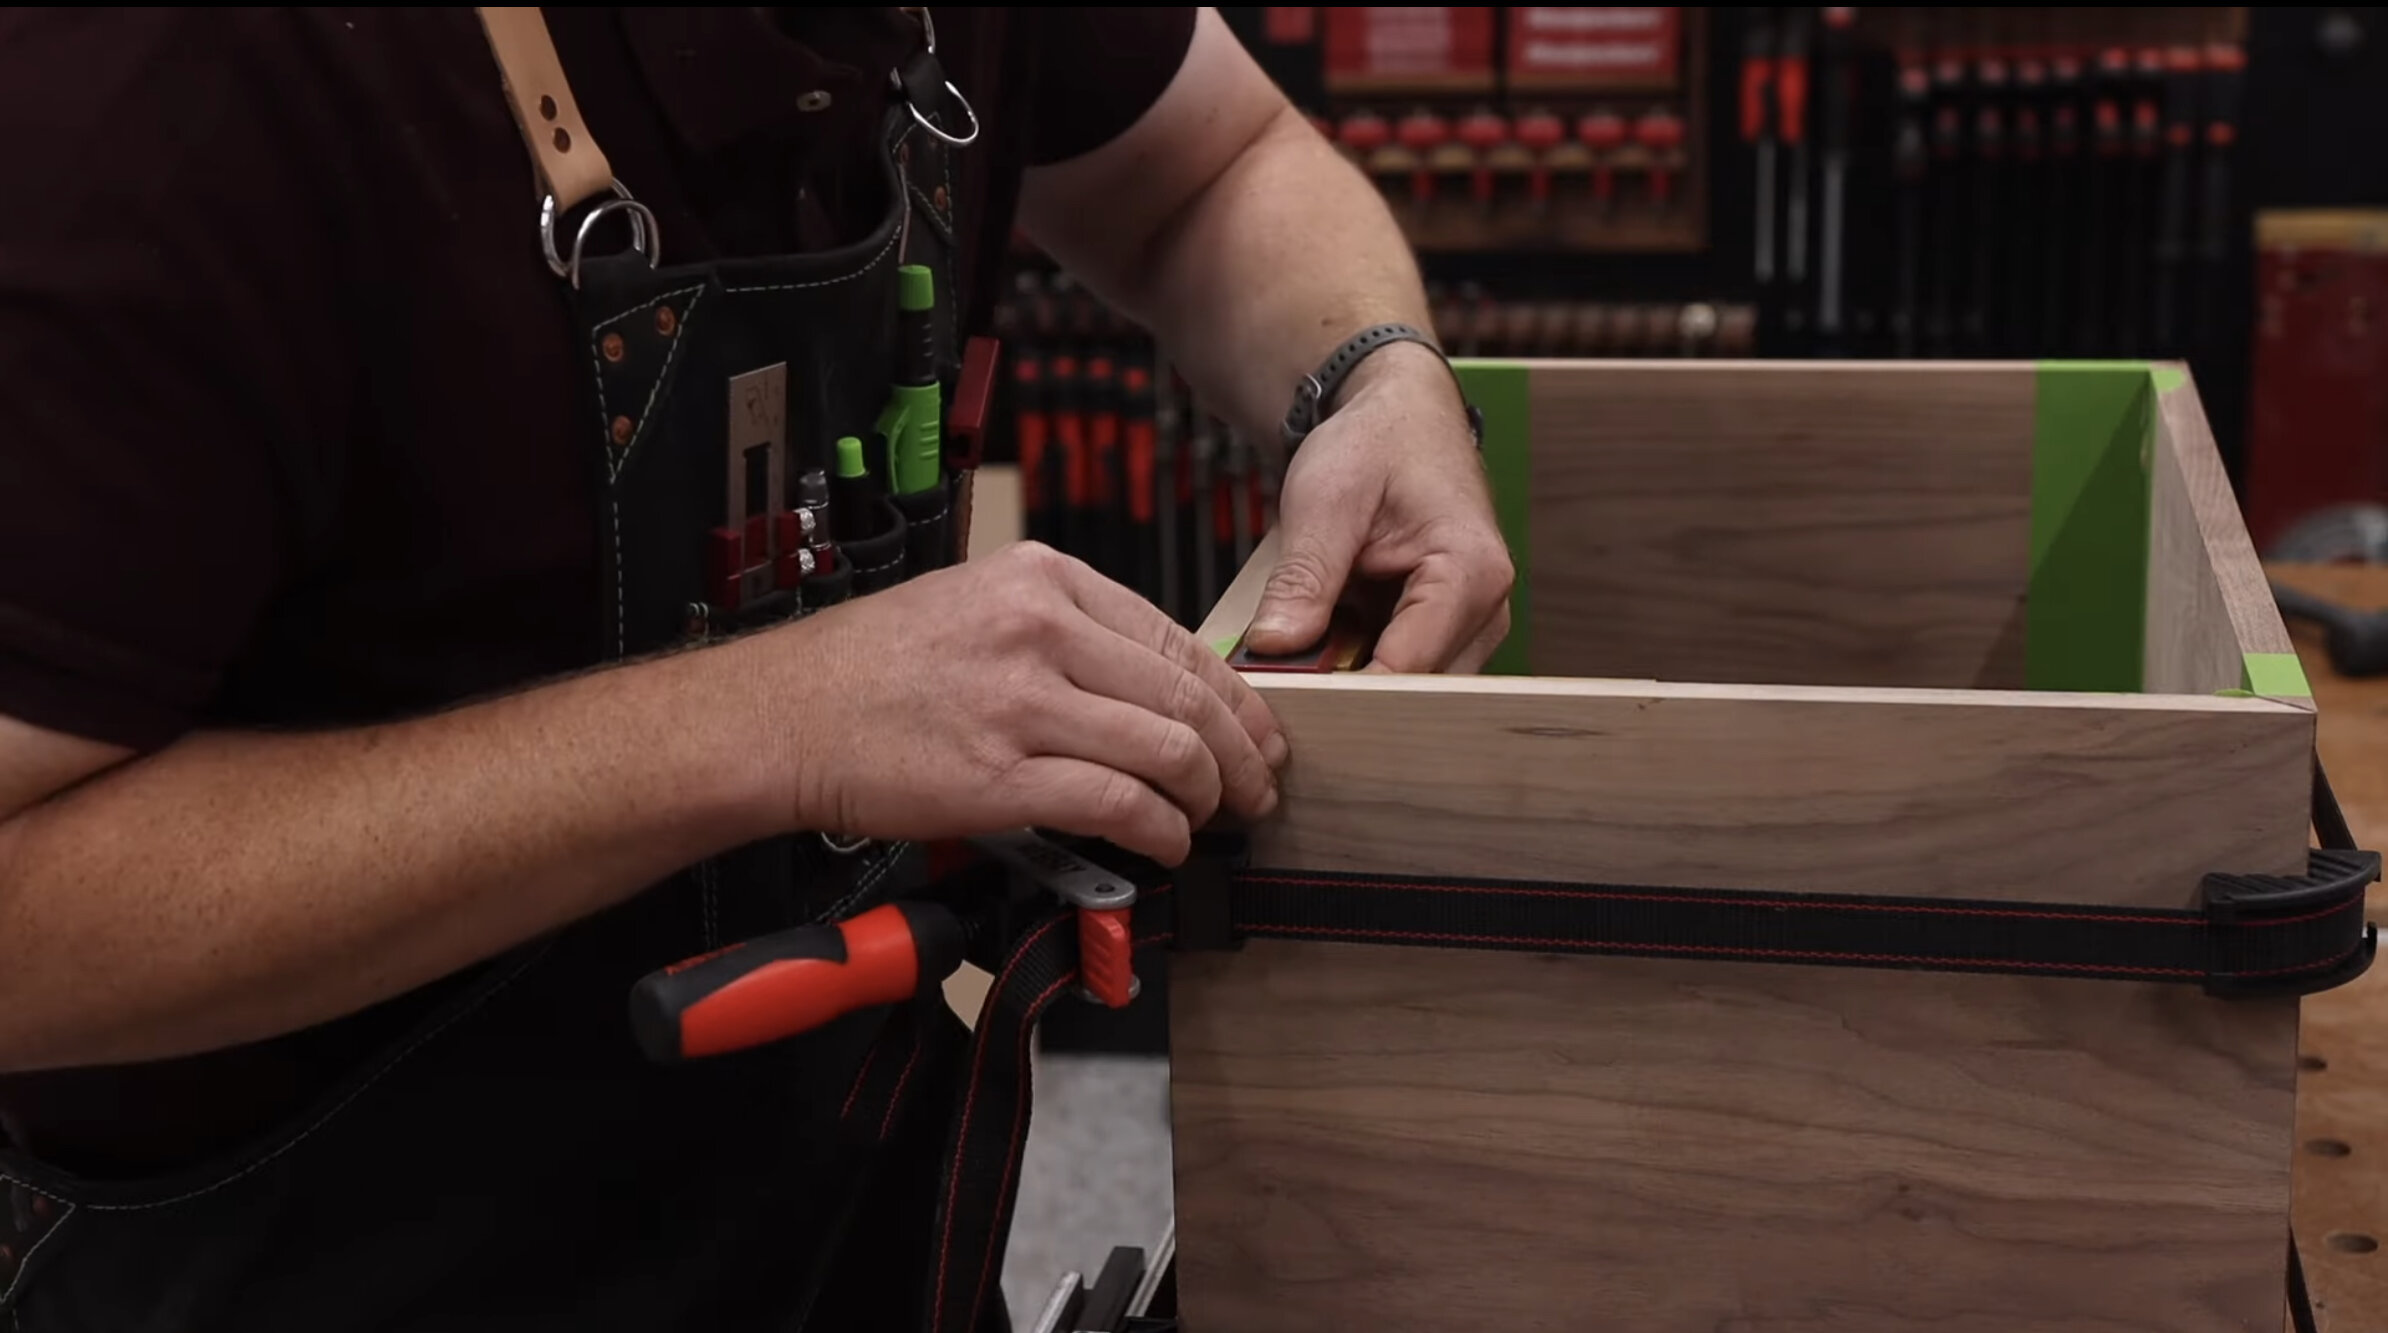
Checking for square after clamping.

While waiting for the carcasses to dry, I made my own drawer out of walnut. If you want to see how I make drawers, you can check out this video here.
Next, I made the back panel for the carcass, which will be visible from the front. I cut it to the interior dimensions and used pocket screws on the back side to attach it.

When making the panel, ensure you leave enough space for the French cleat.
Using some undermount drawer slides on this project means that you won’t see any hardware when opening the drawers. You don’t have to use undermount drawer slides, you can use which ever type you prefer. I have plenty of other vides on my YouTube channel showing how to install other styles of drawer slides.

I used a space block to set the drawer hardware inside the carcass, which ensures both slides are level.
To hang the nightstand to the wall, I chose to use a French cleat. This style of hanging hardware is super easy to make on the table saw. I attached the French cleat to the carcass using pocket holes.

Cutting a French cleat is easy. I cut a piece to the rest of the opening dimensions in the back of the carcass, then split the panel down the middle at a 45.

One side will be anchored to the carcass, while the other anchored to the wall. French cleats are a great way to hang pieces that are too heavy or bulky for traditional mounting hardware.

When attaching the French cleat, ensure the bevel faces the back of the carcass.

Attaching the Blume hardware. One of my favorite drawer types - under mount drawer slides.
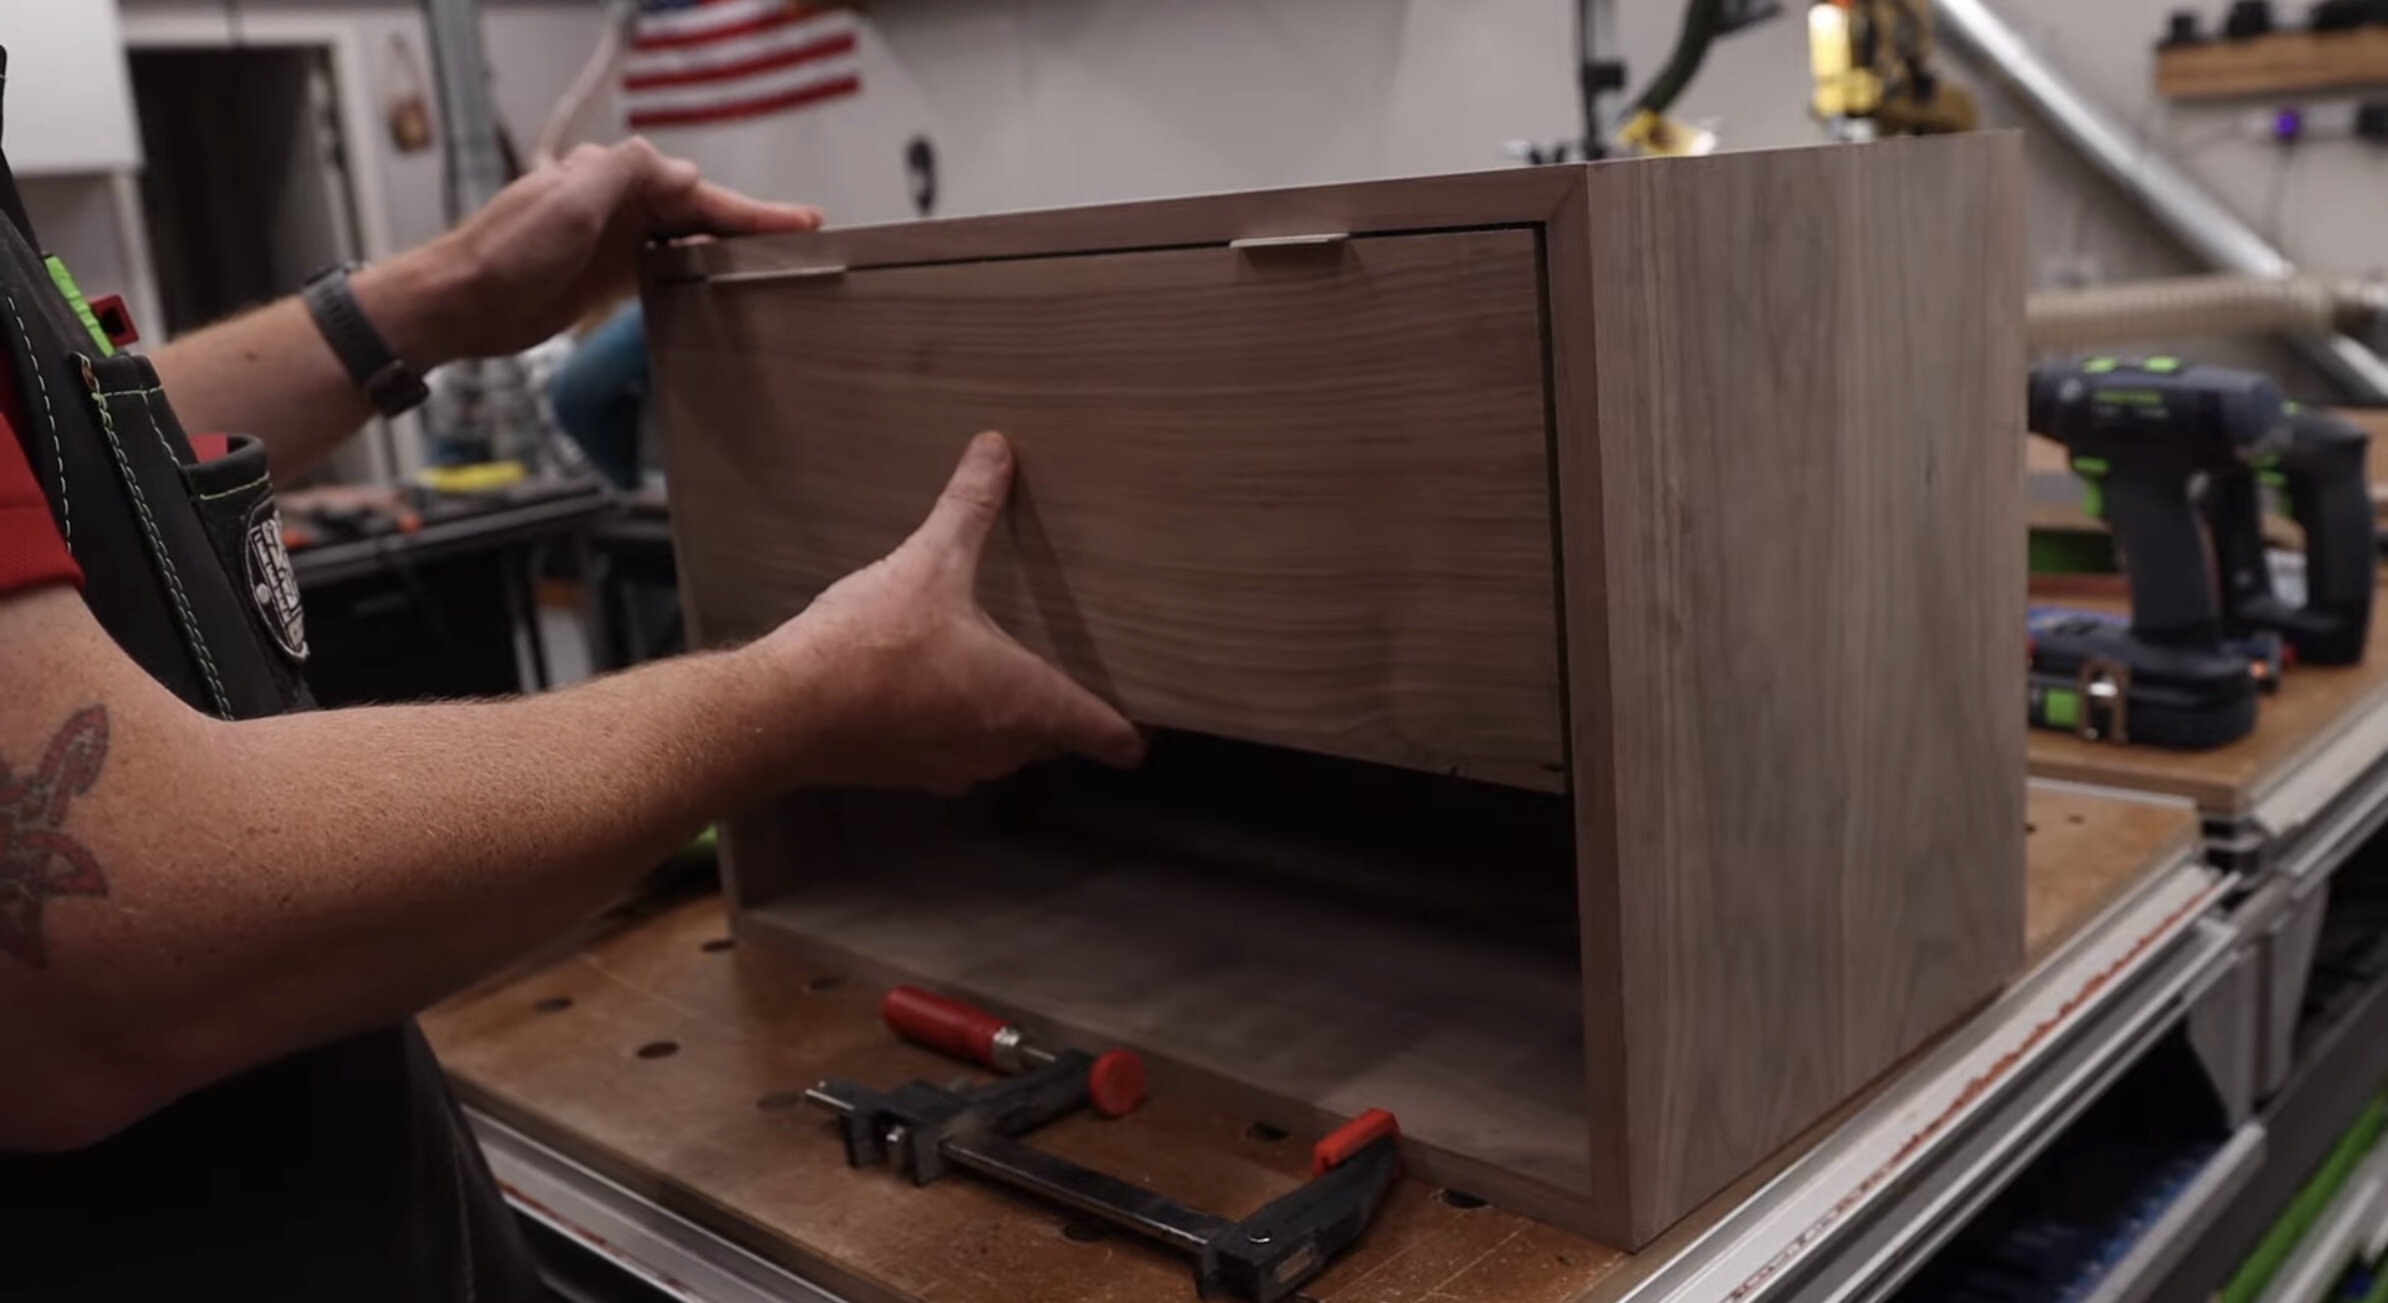
After installed the drawer, I attached the drawer front. I like to have a small reveal around my drawer front; using some shims of equal thickness while I attach the drawer face gives me a uniformly spaced reveal while I attach it to the drawer. With the drawer front installed, I removed the drawer and cut a small chamfer on the outer edge of the drawer front. I also cut a chamfer on the inside of the carcass. This detail creates a really modern shadow line and separates the drawer from the rest of the carcass. I used a small chisel to clean up the interior of the corners.
Setting the drawer front with shims.
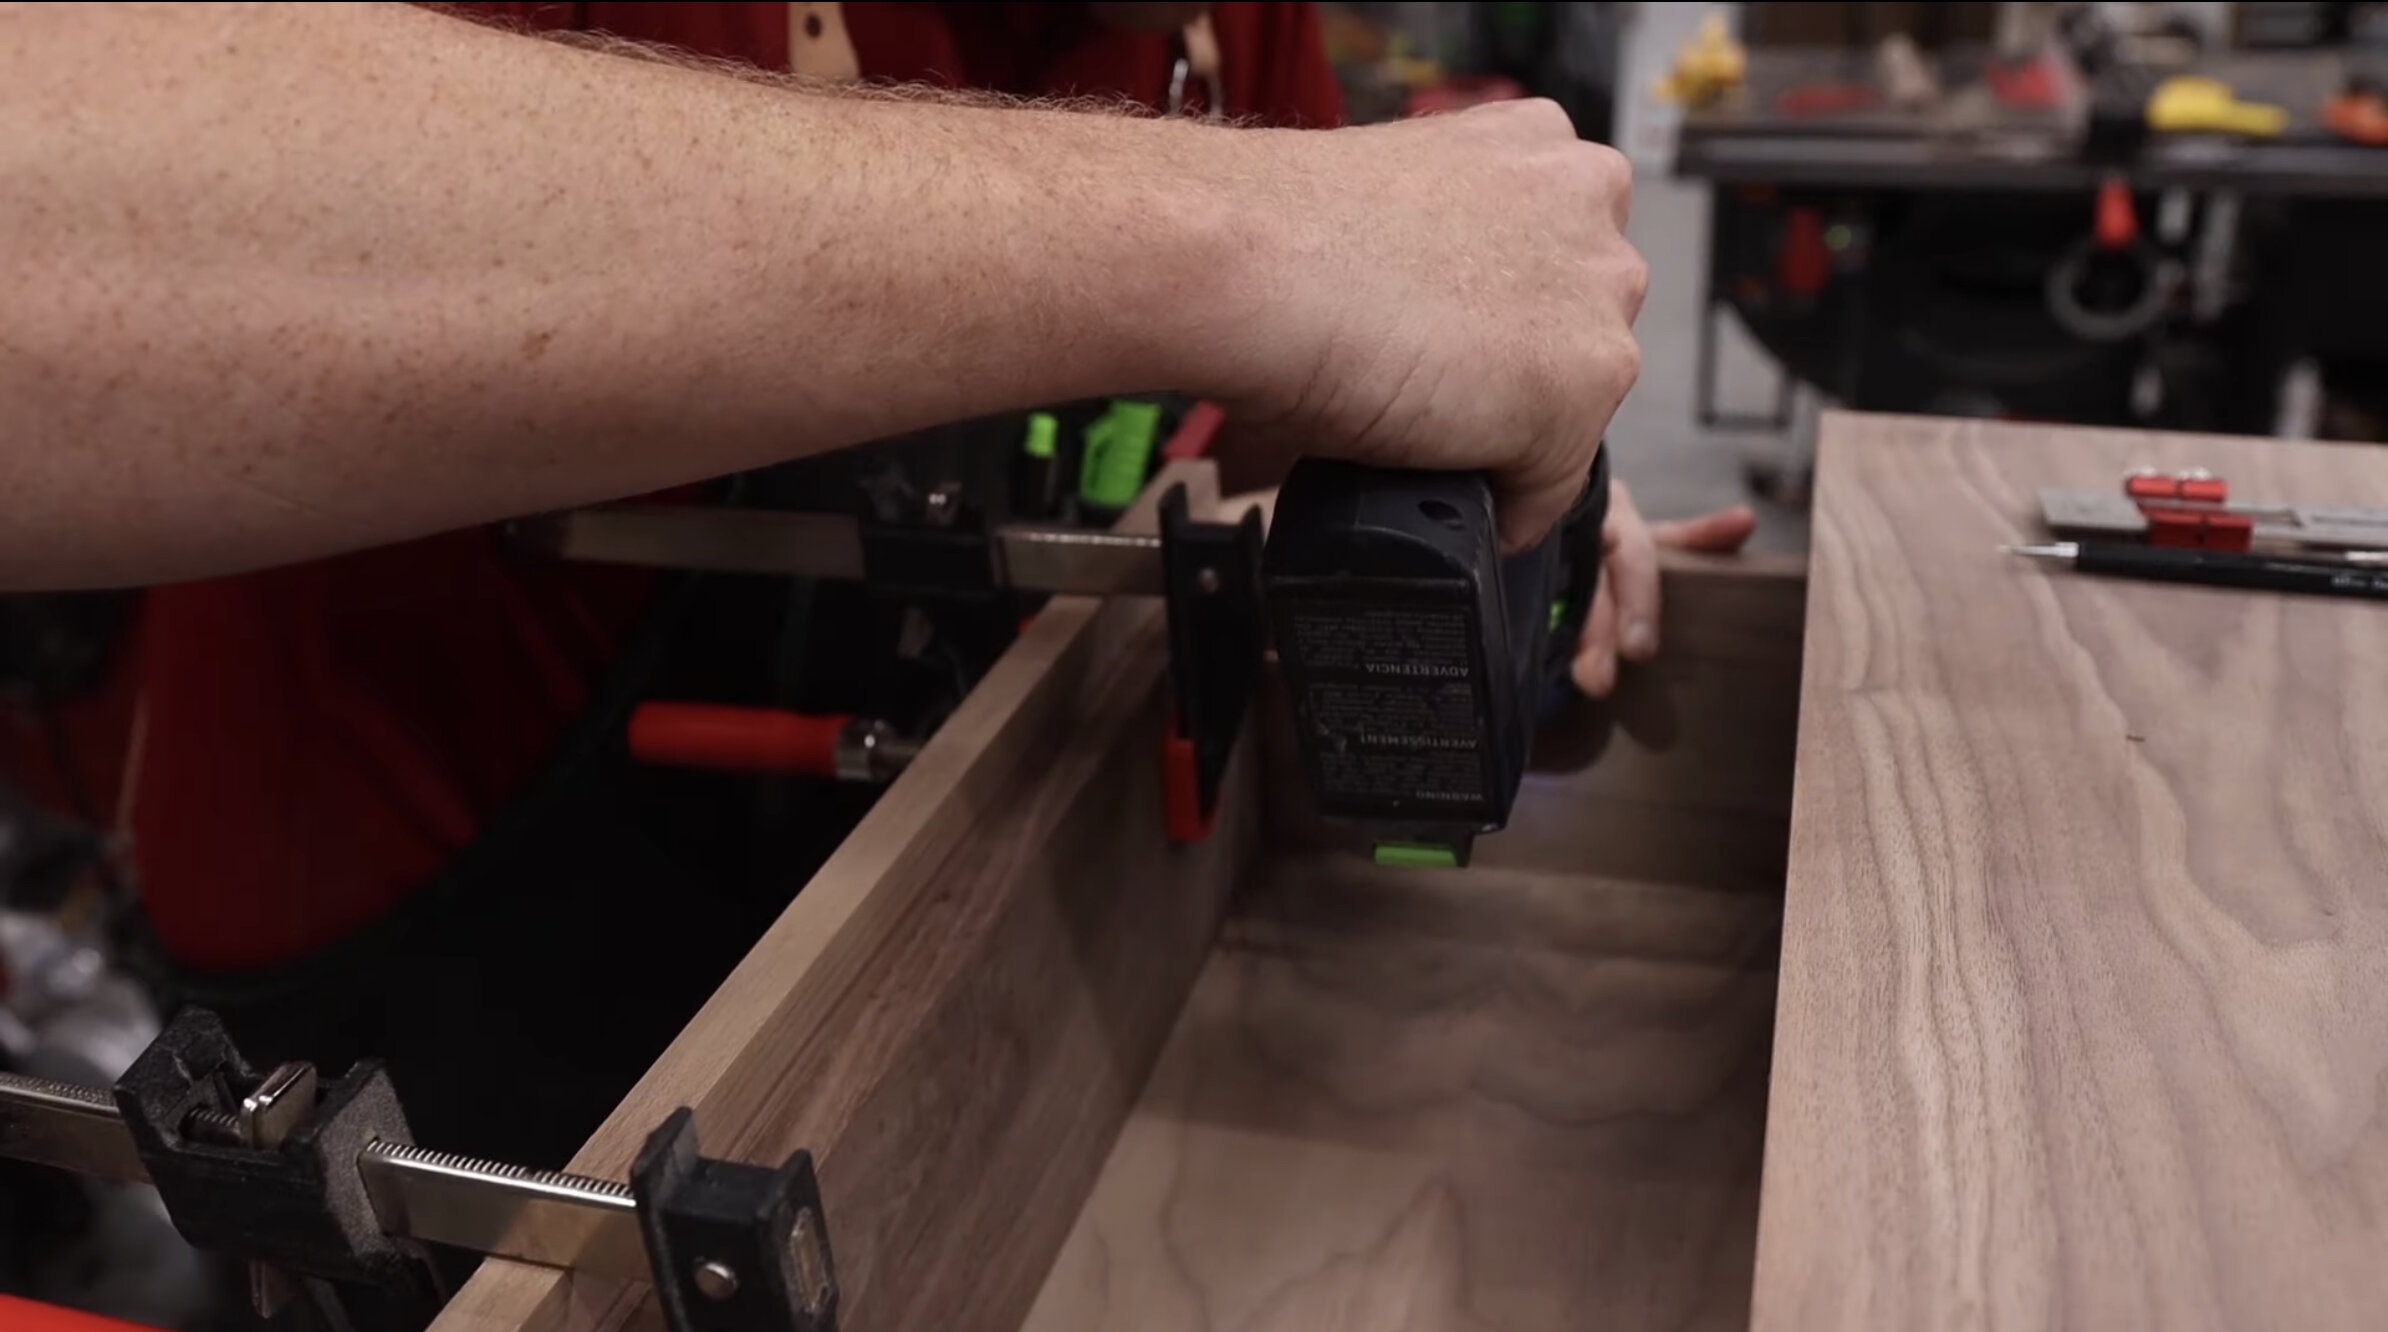
Using F Style clamps to hold the drawer front in place while I attach it with screws.

To create depth, I added a chamfer to the drawer face.

And also to the inside of the carcass. I used a small chisel to clean up the inside corners where the router bit couldn’t reach.
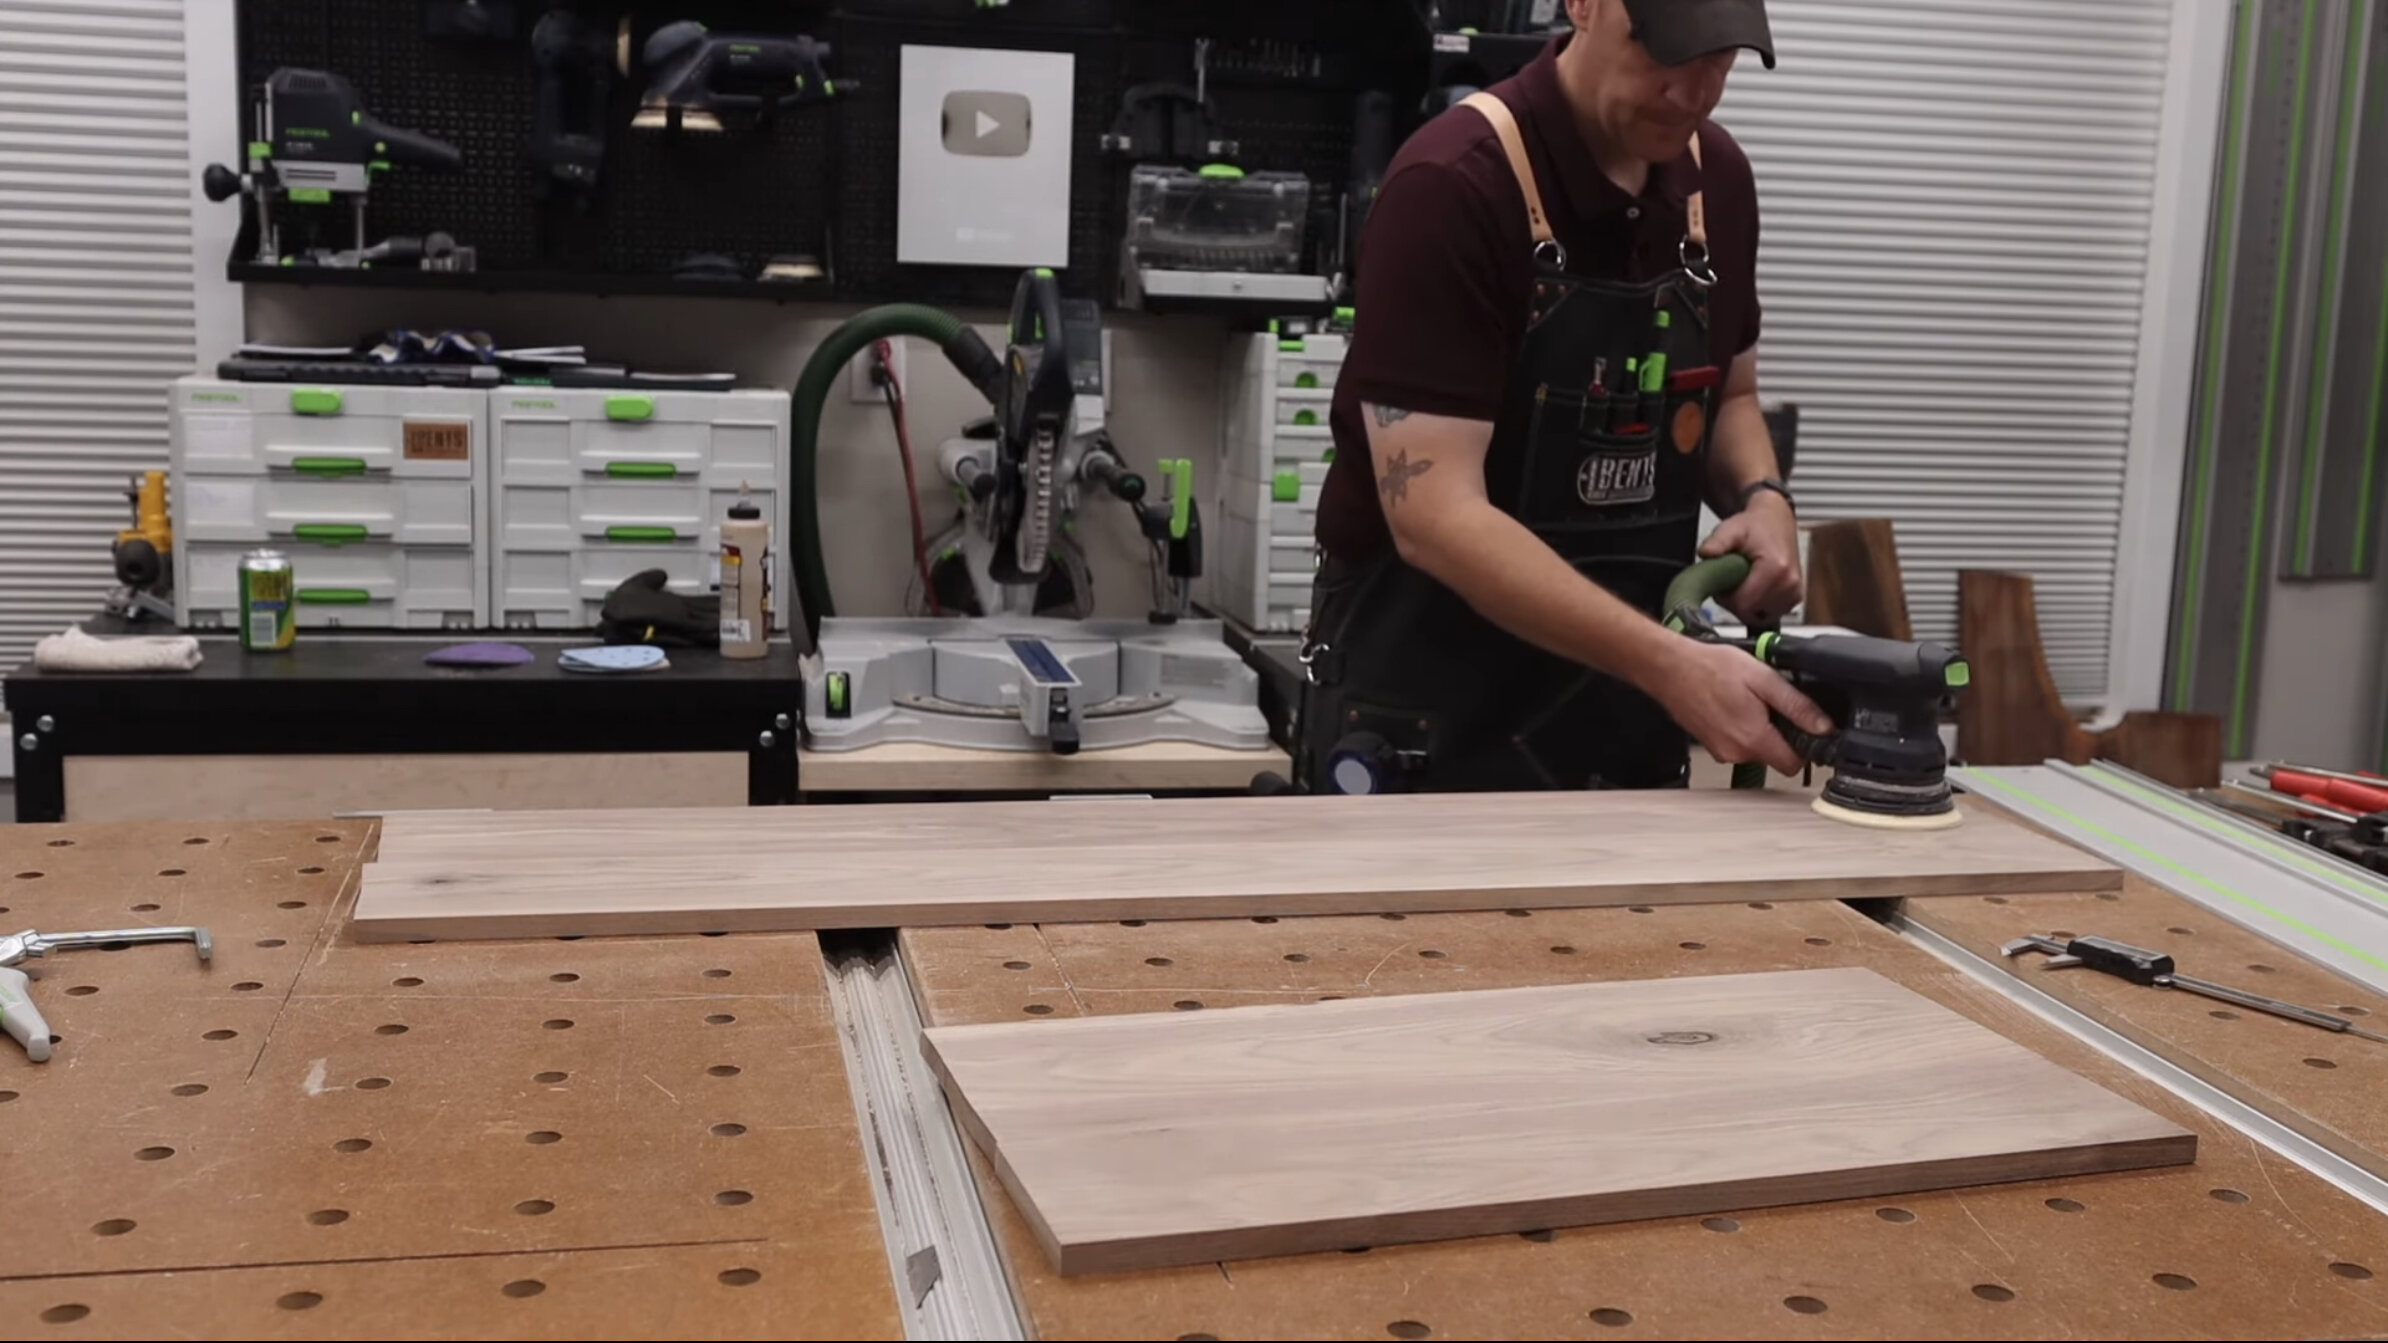
Now that the build is complete, I removed all the hardware and began sanding to 120 grit. I wiped everything down with Rubio Raw Wood Cleaner, which helps lift away debris and particles from the surface, and is a great prep for Rubio Monocoat. If you want to see more in-depth instructions on how to apply Rubio to your next project, you can watch this application video HERE.

Sanding all surfaces to the final grit.
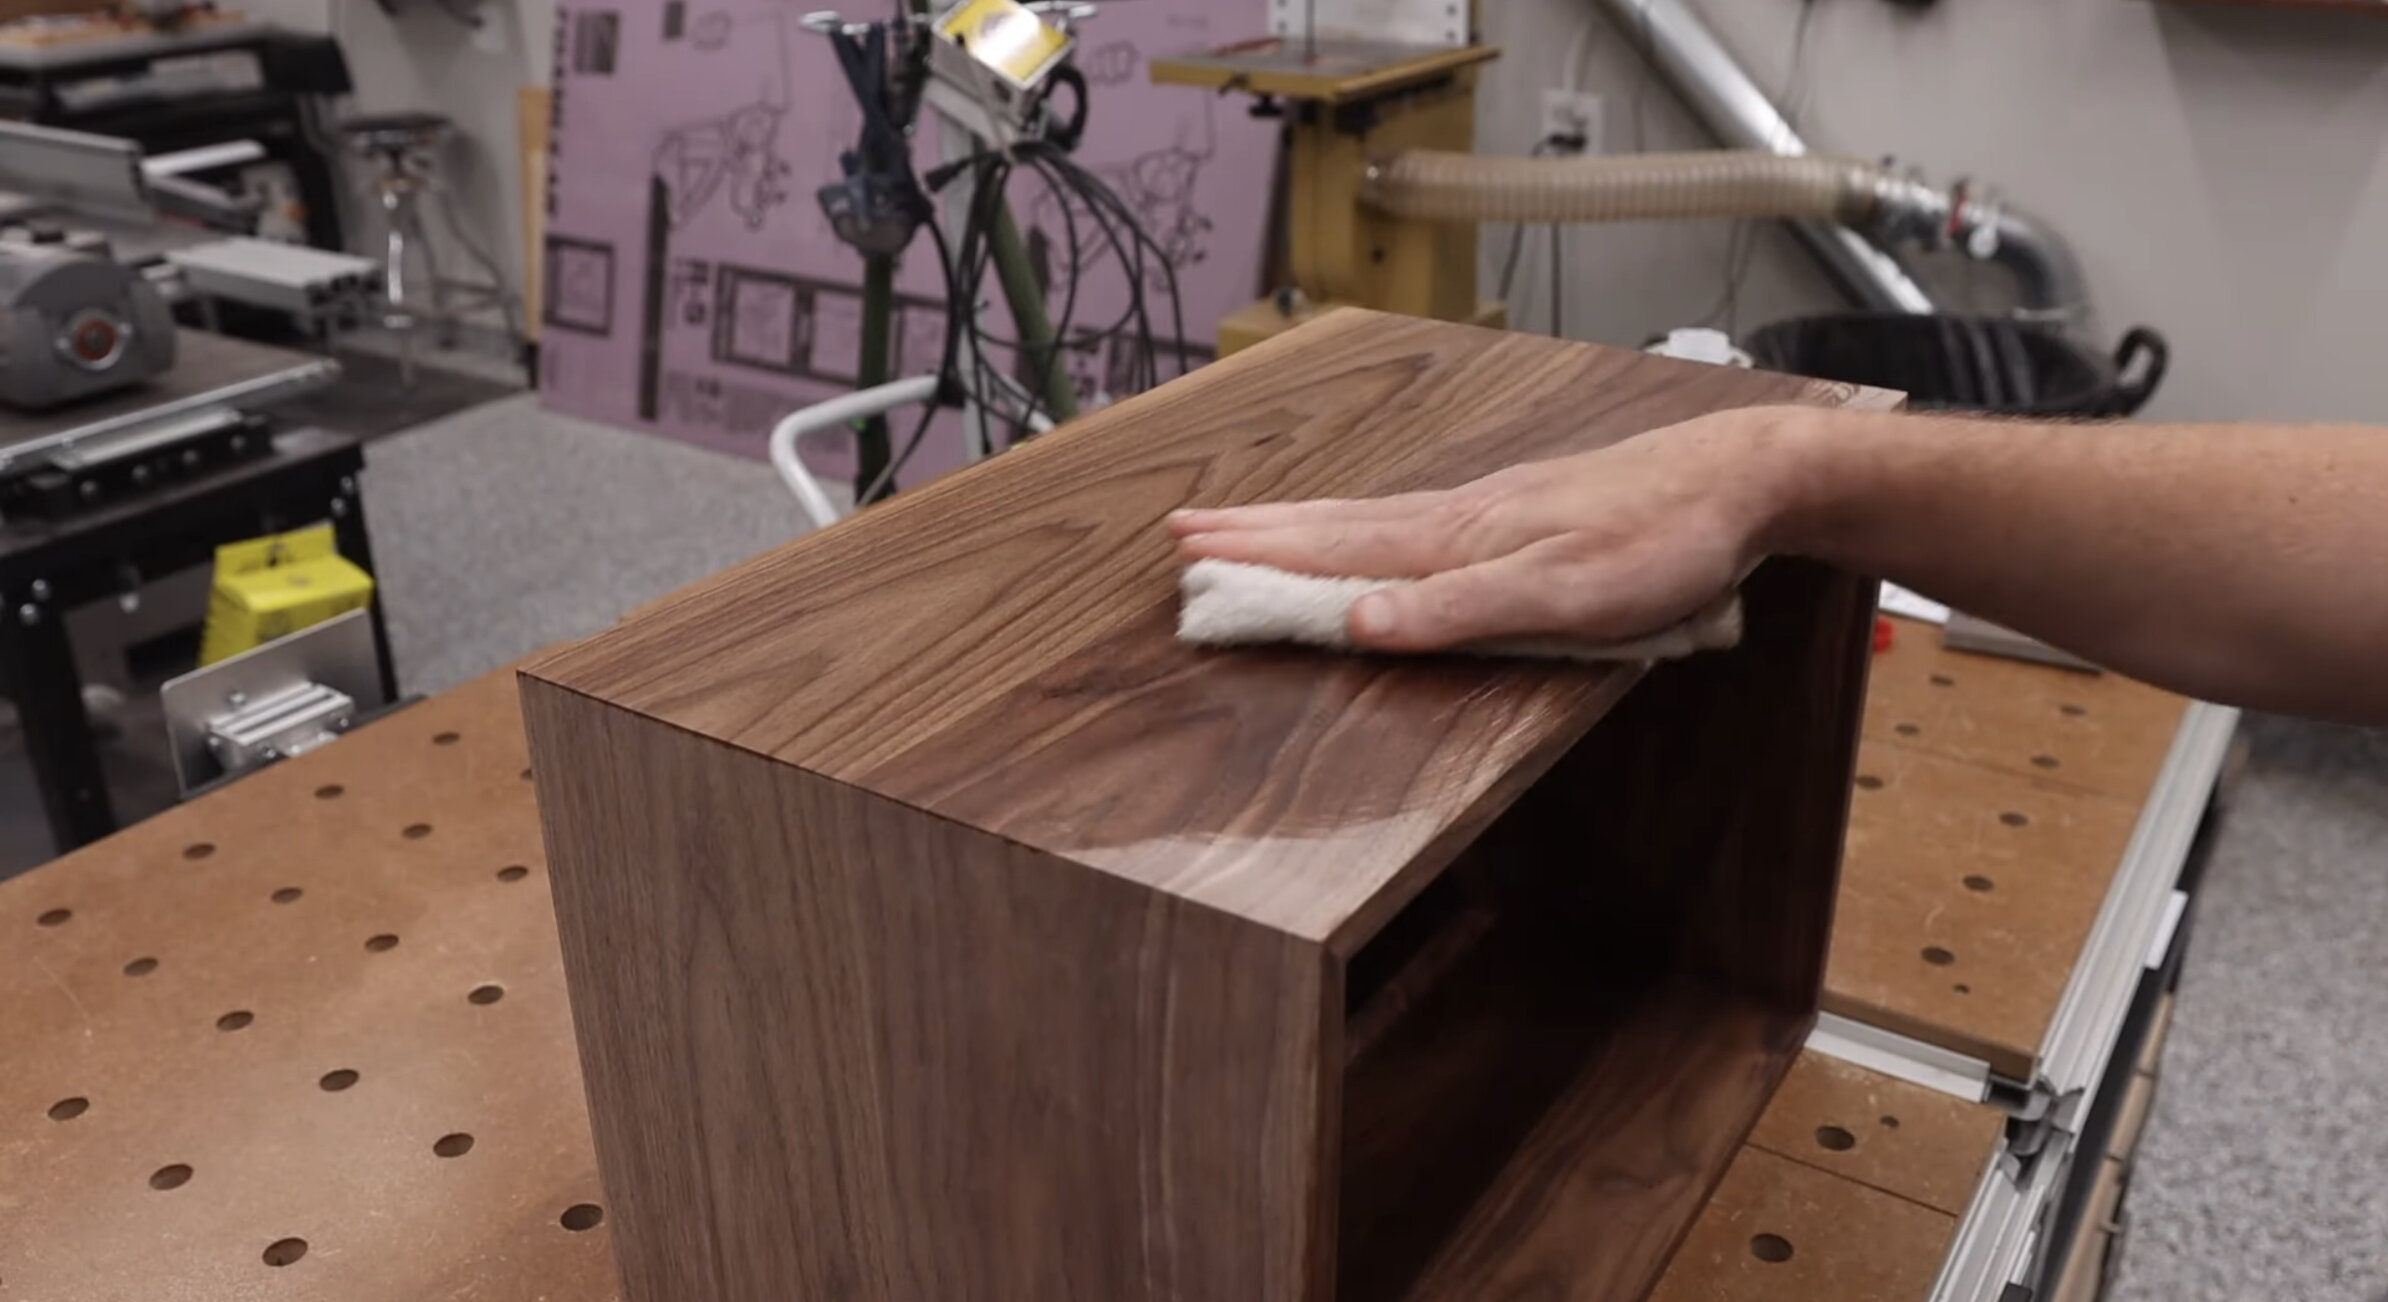
Applying Rubio Raw Wood Cleaner.

No surprise here…Rubio Monocoat!
Overall, this was a really enjoyable project. My wife and I could not be happier with the final result. Thanks for taking the time to read through this article, and I hope to see you in the next one.
You can purchase plans for this build here.