Break Down Plywood like a Pro
Plywood projects not coming out the way you hoped? Here are the 3 leading errors people make when breaking down plywood, and how you can avoid them.
Relying on the factory cut edge as a straight line reference
Trying to manage larger sheets on a table saw
Out of order cut sequences
Stop Using the Factory Edge

You can see the difference in edge quality: 2 factory edges on top, a clean track saw cut edge on bottom.
One of the biggest errors someone can make when breaking down sheet goods is to rely on the factory cut edges. In the years that Jason and I have been woodworkers, we can each count on one finger the amount of times a sheet of plywood has entered our shops with perfectly straight and square edges. When processing materials with power tools, references are everything. Plywood edges are subject to abuse from forklifts, nylon straps, weather, wind, and other various circumstances. While the edges may have been clean and straight at the mill, chances of those edges being perfect by the time it reaches your shop is slim. I honestly cannot think of any stock material where I relied on an edge I didn’t cut myself.
Using a track saw (or straight line jig and circular saw) is the easiest method to creating your own straight edge to reference for the rest of your cuts in the project. This stops errors at the source and gets your project off to the right start. If you only have a table saw, you still need to reference a straight edge against the fence to rip your plywood straight. There are a few jigs that can manage this, however ripping full sheets in this manner is nigh impossible if completely unsafe without the help of another person.
Cut Sequence Matters
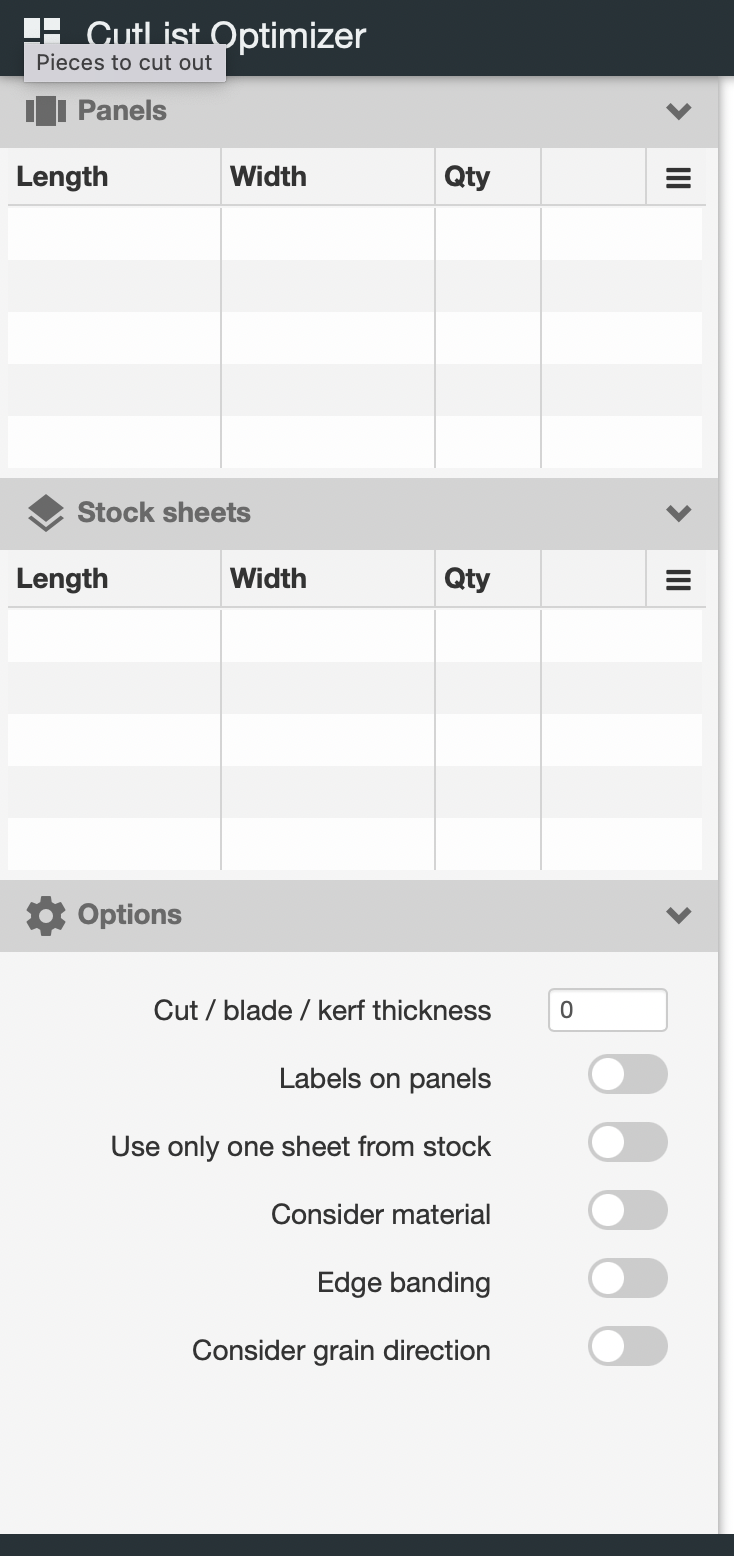
image from www.cutlistoptimizer.com
Getting the most out of your materials is vital, especially in the lumber price inflated world. Using a cut list is a planning method to get the most efficiency in a sheet good. Use a cut list generator, called Cut List Optimizer to work up a cut list sequence that makes the most of your available materials. This web based generator is quite simple to use and produces some impressive results.
For the older school woodworker, you can hand jam your measurements the old fashioned way. Just make sure you rip first, then cross cut. This order has more to do with the ease of running sheet goods over the tablesaw, however if you want to cross cut first - you didn’t hear it from us.
Jason differs from my sequence here in just one aspect, and it’s one that I find to be an unneeded step, however I can see the validity in his approach. When breaking down the rip cuts on the track saw, Jason likes to leave a little extra width. He then refines and rips the final panel dimension on the table saw. This technique is neither wrong nor right, just understand it introduces more processing time if you have a lot of panels to break down.
Use a Track Saw

image from www.ryobitools.com
Ryobi is releasing a track saw in April, so there are no more excuses as to why someone can’t get one because of price. If you don’t have any coin to pick one up, there are lots of shop made jigs you can make to achieve close results. Breaking down a full sheet of plywood is much safer than doing so on a tablesaw (industrial cabinet saw users/owners can stay quiet here). Breaking down a full sheet into more manageable sizes means that there will be less errors in accuracy and cleaner cuts when using a tablesaw.
If you still scoff at the idea of a track saw, just remember that the most home improvement focused tool company that everyone loves making fun of for their cheap tools (Ryobi) has a track saw now.
Pay attention to reference edges
Everything in precision woodworking is about referenced edges, especially when it comes to power tools. Most tools or machines that remove material us a parallel or perpendicular surface to position the material against a blade: a table saw fence is parallel to the arbor and blade, a miter saw fence is 90° to the motor housing, a circular saw references the surface it’s laid down on to cut at 90° (or whatever angle the bevel is set to). Paying attention to which edge or face you use to reference a cut is important and critical to achieving properly aligned sequential cuts.
This is critical if you are looking to get perfectly parallel and perpendicular cuts. Jason outlines this in his video here, scrub forward to the 7:12 time mark and see where he discusses using the same reference edge against a fence for cross cuts.

Jason’s video “How YOU Should be Cutting Plywood”. Scrub to 7:12 to see his detailed instructions on using the same reference edge in all your cuts.
Breaking down plywood should be a simple and stress free experience. Using a proper reference edge is by far the most important takeaway from this article. If you’re reference edges aren’t straight and clean, then every cut after that references that edge will be off as well.
I hate to make people feel that they have to buy a track saw to break down plywood, but until you’ve used one you really don’t know what you’re missing out on. Track saws have started to become mainstream in woodsheds for a very good reason. If you’re still on the fence about the versatility of a track saw, Jason and I both have videos on our YouTube channels showing (and reviewing) our favorite track saws.