A Toy Chest For My Son Leo

Hello everyone and welcome to my first build article. Today, I will be taking you along for the children’s toy chest that I made for my son Leo. I do have plans available for this and other projects here on my website. Also, if you would rather watch the process, you can go to my YouTube channel. Lets get into it!
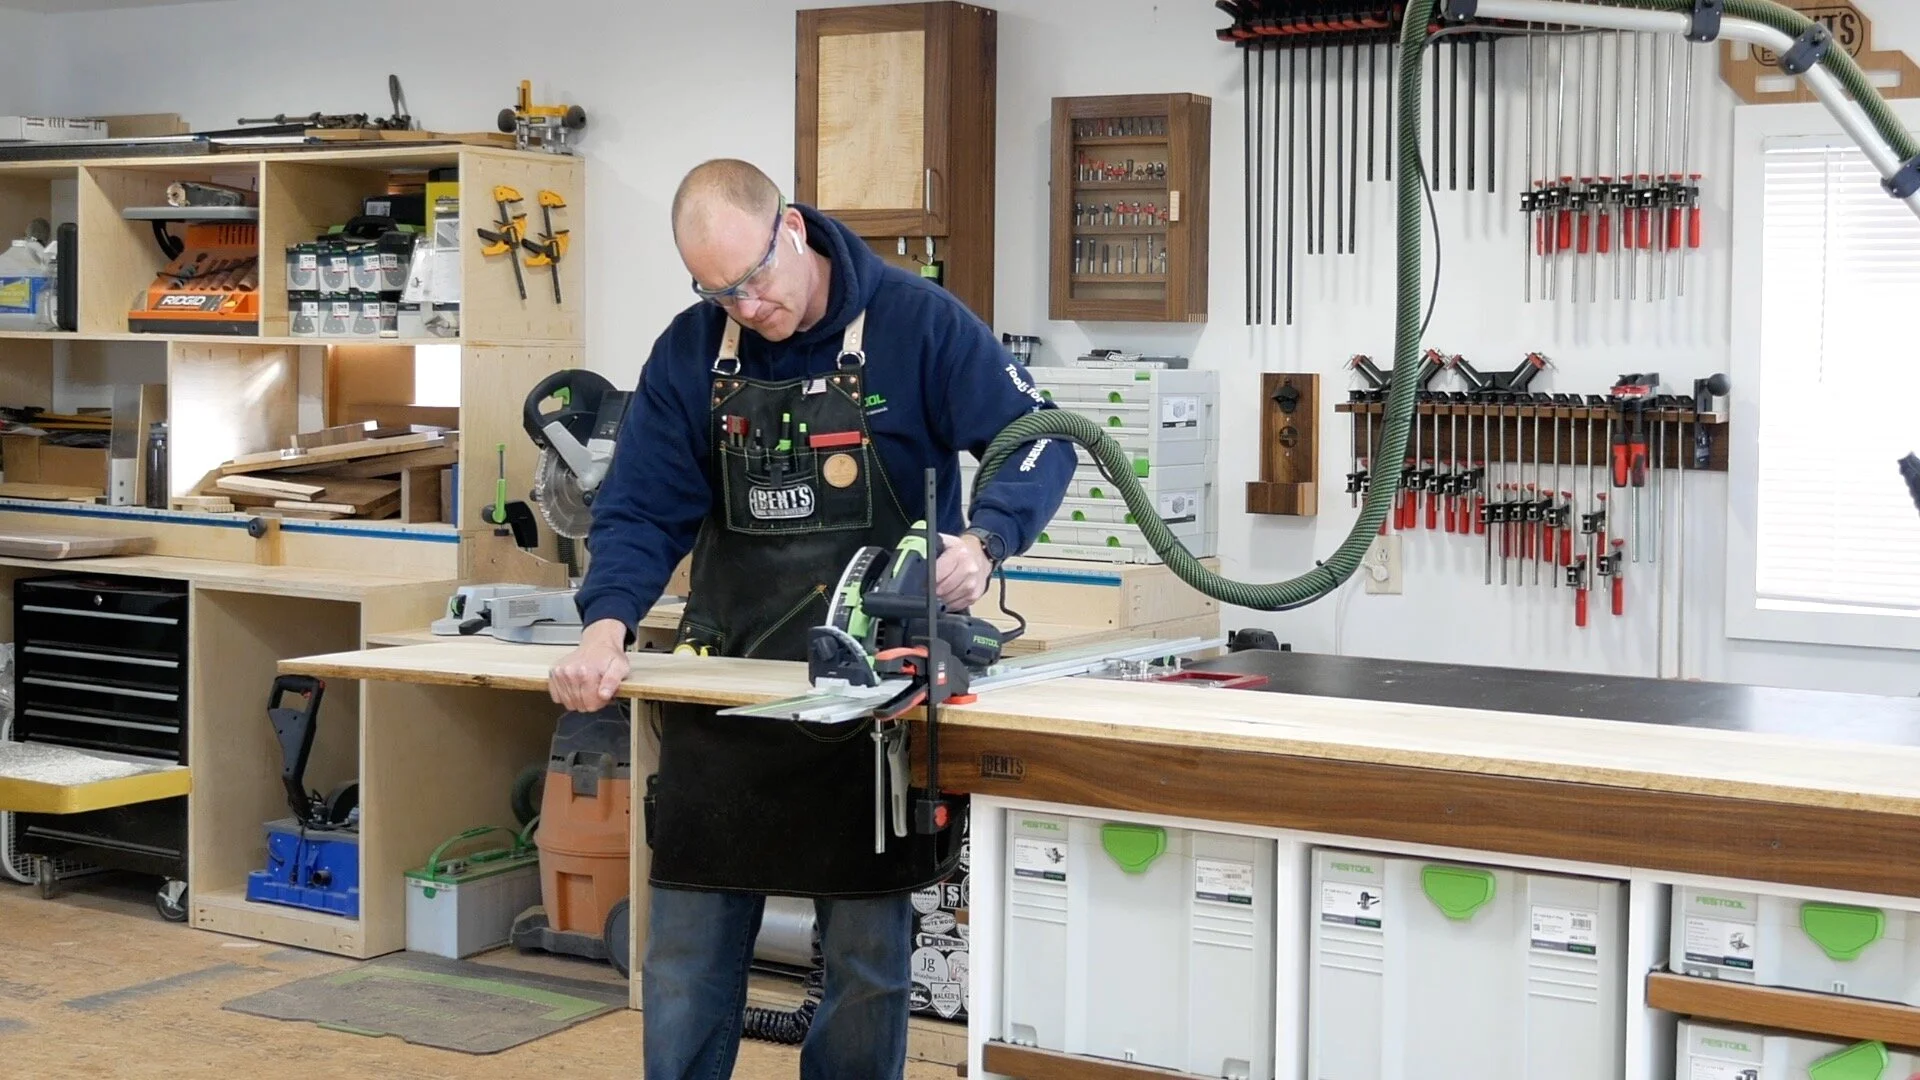
To begin, I needed to break down the piece of Poplar that I am using for the main construction of the box. I chose Poplar because the box will end up being painted white and poplar is a great choice for that. I decided to break it down into more manageable sizes using my track saw. Once I had all my pieces cut, I labeled them and then used the MFT to cut each panel to the exact length. The reason for breaking everything down this way is that I didn’t want to worry about flipping the pieces over at the miter saw in order to cut the full width.

The primary joinery I’m using for this toy chest is dominos. After everything was at its final size, I laid out all of my lines for where I wanted each domino placed. From there I went back over to my MFT cart so I could use my vacuum clamp to hold my pieces in place while I cut all the dominos. This is where the vacuum comes in very handy.

After a quick dry fit, I went ahead and moved on to the glue up itself. This was very straightforward and went very smooth. I used three parallel clamps on each side and then after the clamps were in placed checked for square. Then I put it off to the side to dry for a bit.

The next day I started cleaning up a little squeeze out and on cutting the rabbet to accept the panel for the bottom of the toy chest. To cut the rabbet I used a ¼” rabbeting bit in my palm router and moved slowly around the perimeter. Since this left rounded corners, I took the time to square them up using a chisel. I could have just rounded the edges of the panel but this gave me the ability to practice with the chisels.

I left the bottom panel a little long so I could mark where I needed it cut during the dry fit. I wanted to sneak up on the cut so I could ensure a tight fit for the panel. I placed it in the bottom, marked my cut, trimmed it and then tested the fit. Luckily, I got it right on the first try. Once I was satisfied, I went ahead, applied the glue, and set the panel. All I used was glue and some 18-gauge brad nails to hold it in place while it dried.

I decided to add a small notch to the front of the toy chest to allow for easier opening of the lid itself. To do this, I marked the locations of where I wanted to cut, then took out the majority of the material using my jigsaw. From there, I would use a ¼” flush trim bit to complete the cut. This gave me the opportunity to make an impromptu template. To do so, I used painters tape and CA glue to hold some pieces of plywood in place and gave the bearing something to reference. Since I laid out all the lines, I was able to place each piece of plywood along those lines. This worked surprise well and it is definitely a technique that I plan to use in the future. Once I was done, I was able to simply remove the plywood I glue in place and removed the tape and I was left with a perfect cut out.

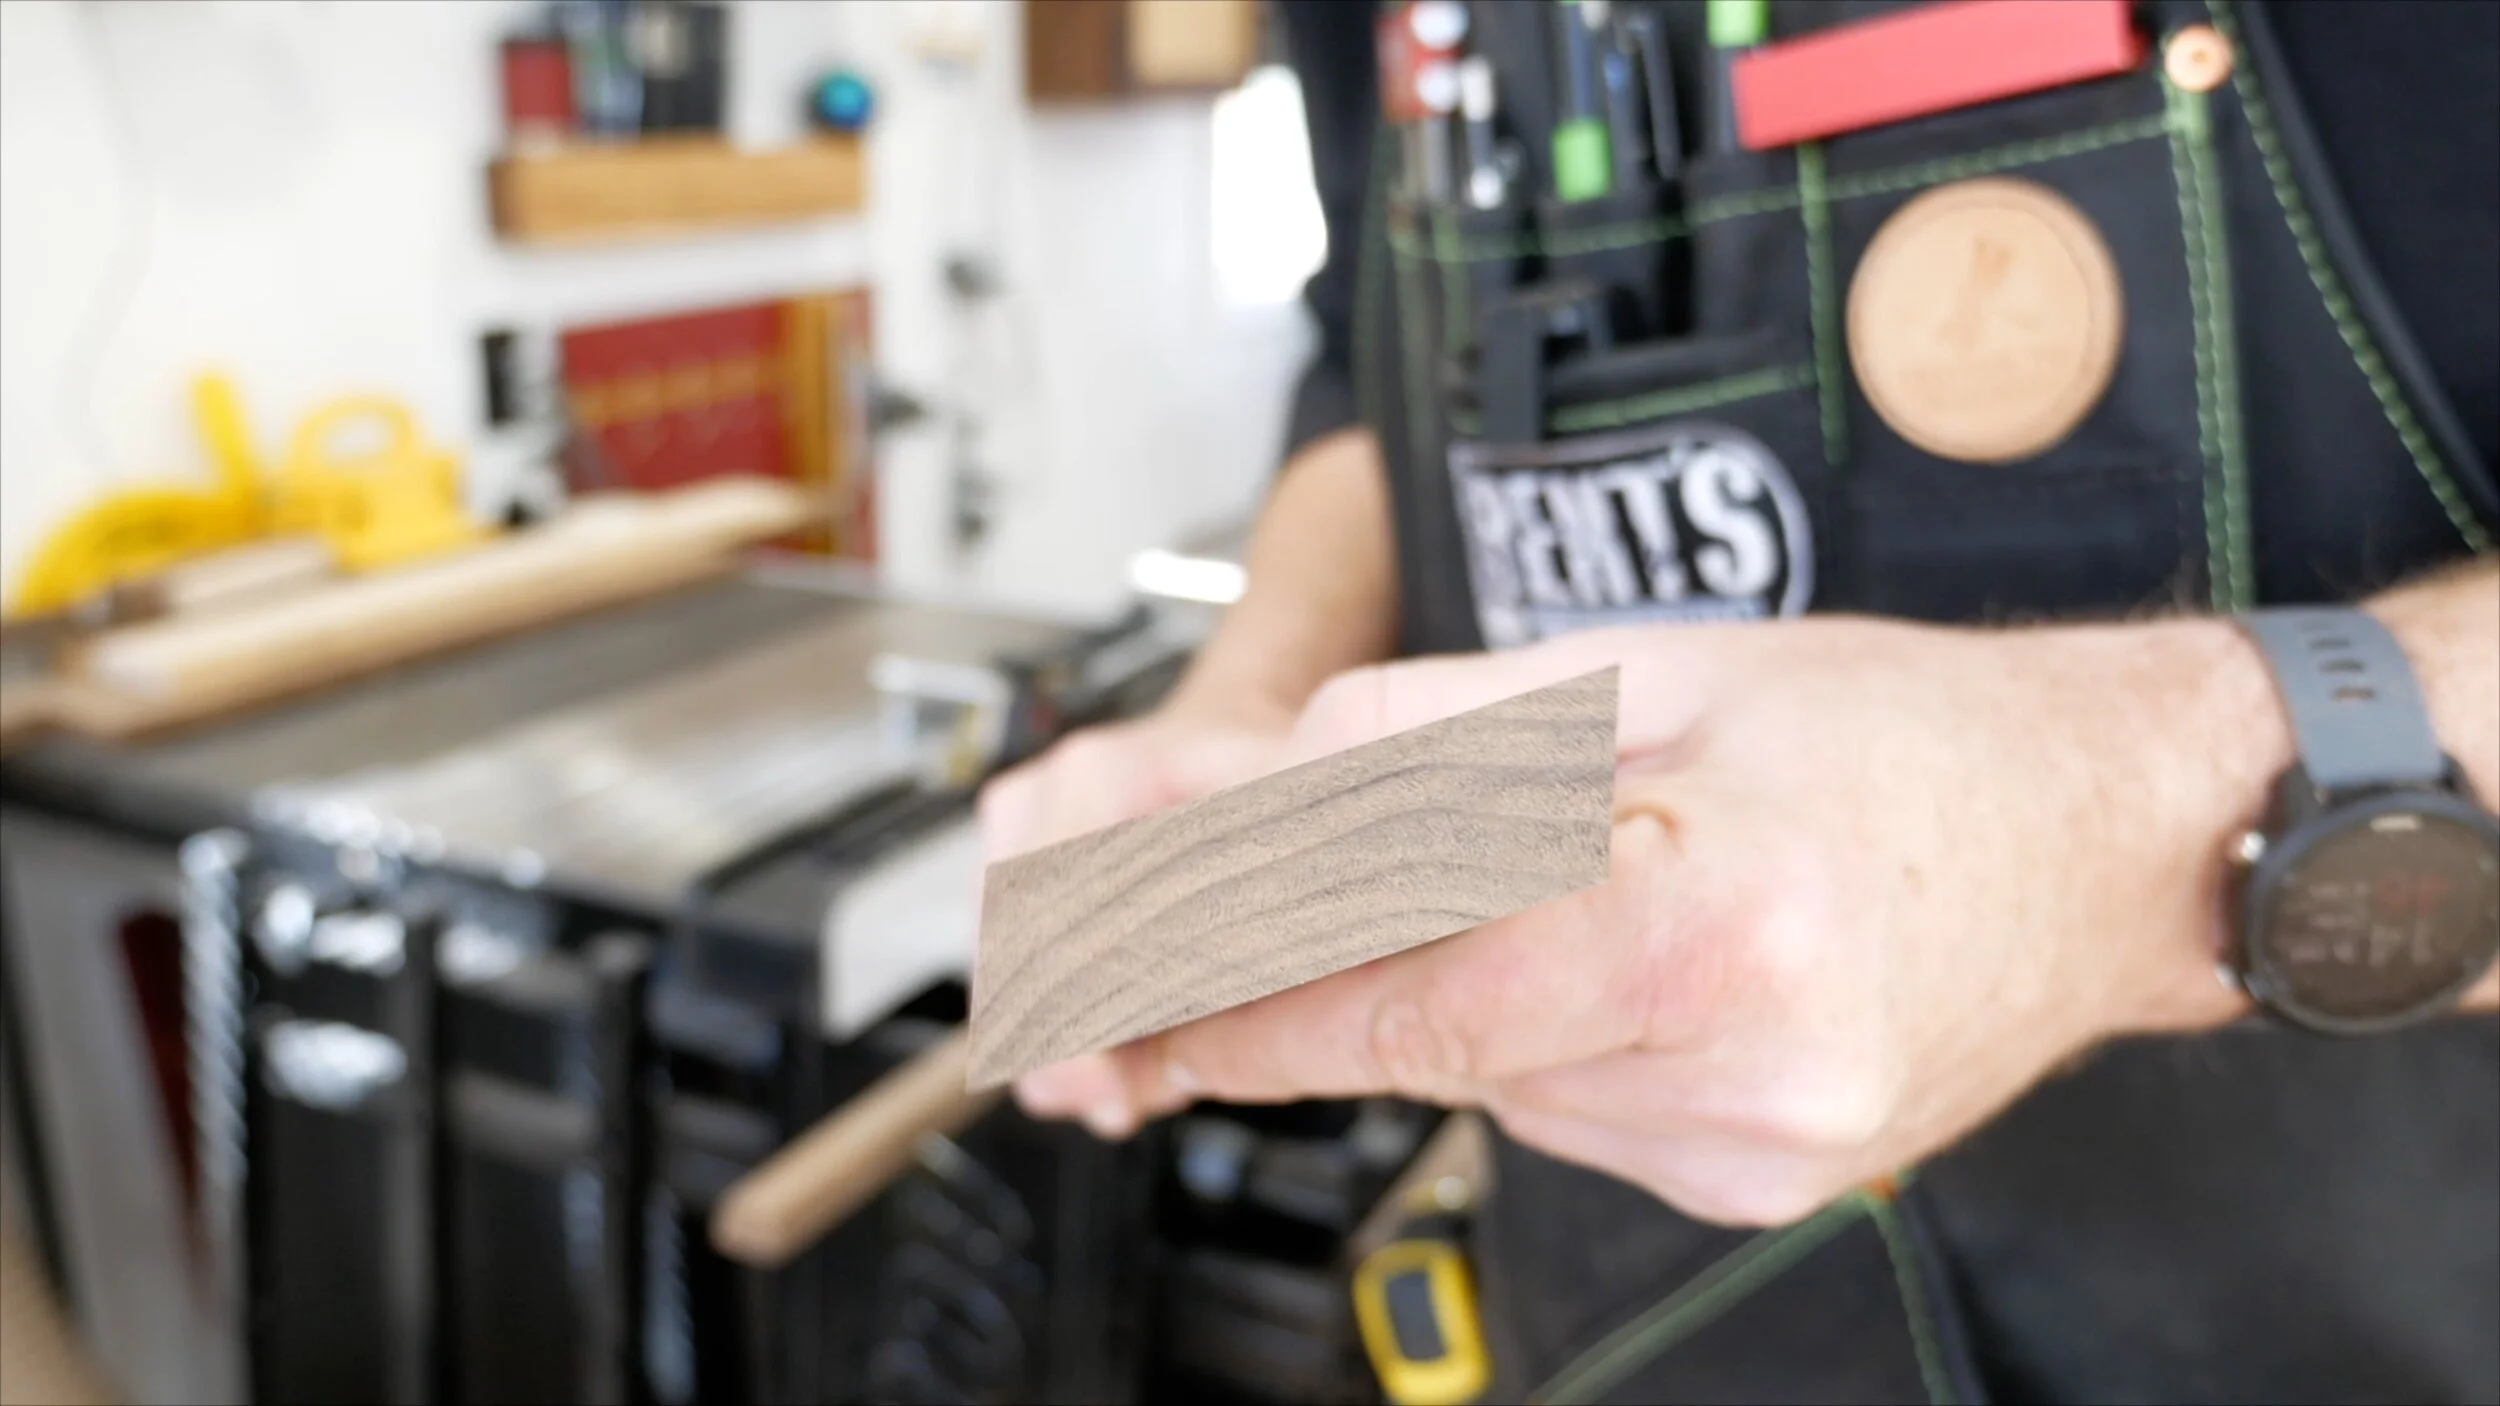
With the main construction of the box complete, I moved on to the panel that will be the lid for the toy chest. I am using walnut for both the lid and base. Shocking I know, but I thought it would look really good with the painted box. After milling the pieces for the lid it was time to glue it up. As with most panel glue up, I used some parallel clamps which I find to be the most used clamps in my shop by far. The glue up went very smooth as I took my time making sure that the boards didn’t shift during the process. Once I applied the amount of pressure that I wanted, I took a moment to clear the majority of the squeeze out which will speed up the finishing process later.

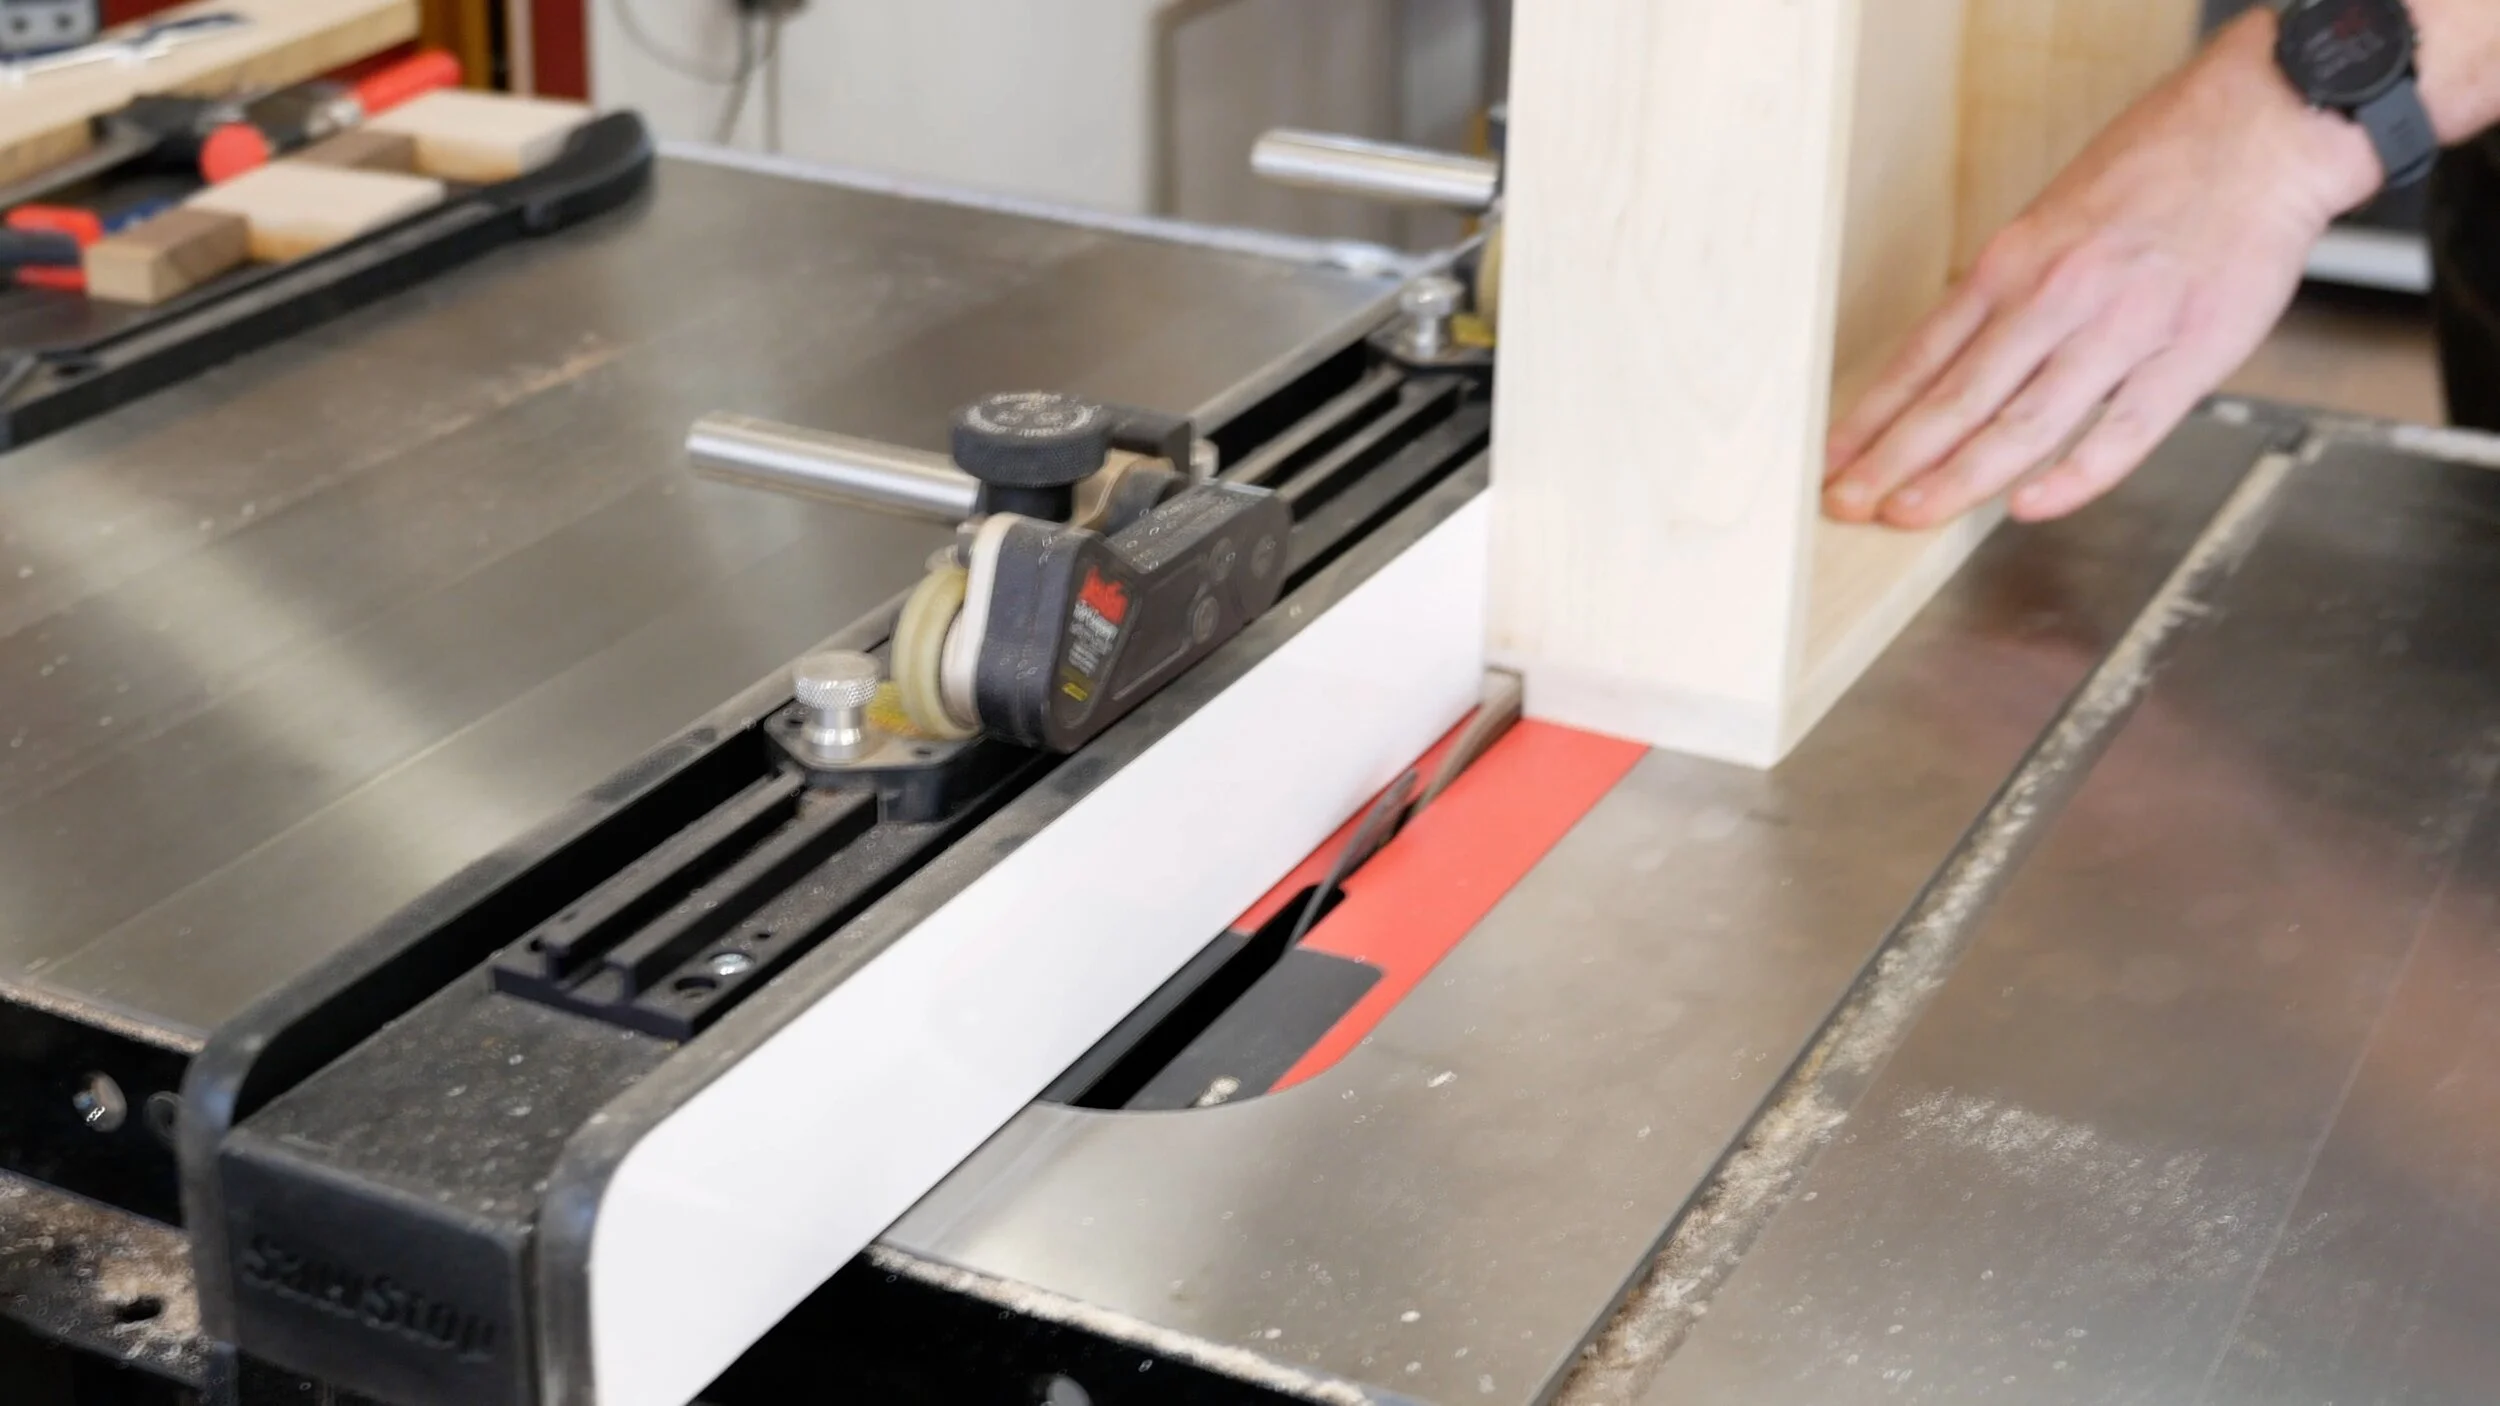
Once the lid was dry, I removed it from the clamps and began working on getting it to final size and preparing it for finishing. The first thing I did was used this knot filler system from Rangate to fill any knots, cracks, and imperfections. It is a simple solution for this and is very fast. After that I trimmed the lid down to the desired width and length with the MFT and table saw. Once cut, I was then able to throw it on top of the box to see how it looked.

I used these torsion hinges from Rockler for the lid based on a recommendation from my friend Nick and I am so glad that I did. This was not the plan I had in mind initially which was to use a pair of piston style hinges. I used two for my lid and the installation was very simple. There is actually a calculator on the Rockler website to determine how many you need which I found very helpful. After reading the layout instructions I marked my hole locations and predrilled everything. I installed the hinges and did a quick test to make sure they were operating, as they should.

With the box and lid complete, it was then time to move on to the base. The look that I was going for with this toy chest is a more modern style. As a result, it’s got to have some angles incorporated into it. I figured a base with some angled legs would be perfect. I cut my pieces and then did a dry fit to make sure that everything was lining up the way that I wanted. The joinery that I chose for the base was again the domino mainly for the added strength and ease of assembly. I laid out all of my markings and cut all my mortices for the dominos. One thing that can present challenges when using angles is the glue up. I don’t have a ton of experience when it comes angles. Here I had to figure out a solution, and what I came up with was to again, use painters tape and CA glue to hold opposing blocks in place during clamping. It worked fairly well as long as I didn’t apply too much pressure. I don’t know if this is the route I would take moving forward as I know there are better options but it accomplished what I needed.
While the front and back stretchers were drying, I went ahead and cut the stretchers that would connect them. The ends are angled to match the feet. Once I marked the locations for each of my dominos, I cut the mortises and then did another dry fit. Everything lined up great and the base itself seemed very strong. I decided to take this opportunity to see what the box itself was going to look like on the base.

Happy with the results so far, I moved on to gluing the base itself. This is the first project that I used some of the dark wood glue from Titebond. The advantage is that is dries darker and is great with walnut. I am surprised I didn’t start using it sooner with as much walnut as I use. I still clean the squeeze out, so I guess it doesn’t matter as much either way.

With the base clamped up and out of the way, I went ahead and started working again on the chest itself. I started with removing the door and getting some measurements for a sliding tray that I wanted to add for added organization. I cut a test strip that will later be cut into the two rails. I also began working on the tray itself. For this, I am again using Poplar as it will be painted and dominos for the overall construction. Basically, the exact same construction methods that I used on the toy chest itself.

Before adding the panel to the bottom of the box, I wanted to get an idea or exactly where I needed to place the rails that the tray would slide back and forth on. The goal was to have the tray just below the top of the box. Once I had the location dialed in, I marked where the tops of the rails would be and used a spacer to ensure my rails were uniformed. To attach them I just used some screws evenly spaced across the length of the rails. For the panel on the bottom of the tray I used the same technique as the box but cut the rabbet at the router table instead because it was a smaller more manageable piece to deal with.
The idea that I had for the tray was that I would cut a rabbet on the ends and those would sit on the rails. This is where I screwed up and cut the rabbets on the sides and not the ends. Once I realized this, I then cut them on the ends. It didn’t change the operation in anyway, so I just decided to go with it.

For the painting, I sprayed 2 coats of primer and 3 coats of Sherman Williams Kem Aqua in white.

With the box and tray painted, I went to work on getting everything prepped for finish. I added a 3/8” radius round over to the edges of the lid as well as the corners. I also softened the edges on everything so there was nothing sharp that may injure my son.

To attach the base to the box I originally planned on using z-clips. I decided to try a different technique I saw being used by Brent Shivley on a recent build series on the Festool USA YouTube channel. He used dominos and some blocks to essentially make his own z clips. I thought it was a really cool idea and I knew that I wanted to incorporate them into this build as well. I definitely will be using this technique on future builds.

My good friend Jay Bates was even nice enough to help me out on this project. I had the idea of added a placard to the front of the toy chest with my sons name. I knew that I wanted an inlay of some sort to really tie the whole thing together. So, I went over to his shop for a couple days and he blew me away with his CNC machine. The initial thought that I had is that we would basically cut out the letters on one piece and then with a different species cut the letters themselves. Instead we cut into the maple and then reversed it on the walnut and sandwiched the two together. The CNC made doing this inlay very easy and so much better than anything I would have been able to do in my shop. After we glued the two pieces up and allowed some time for the glue to set, Jay used the bandsaw to remove the outer piece and then smoothed everything out with the drum sander. Its always fun getting to hang out with him and I look forward to doing it again soon. Thanks again Jay.
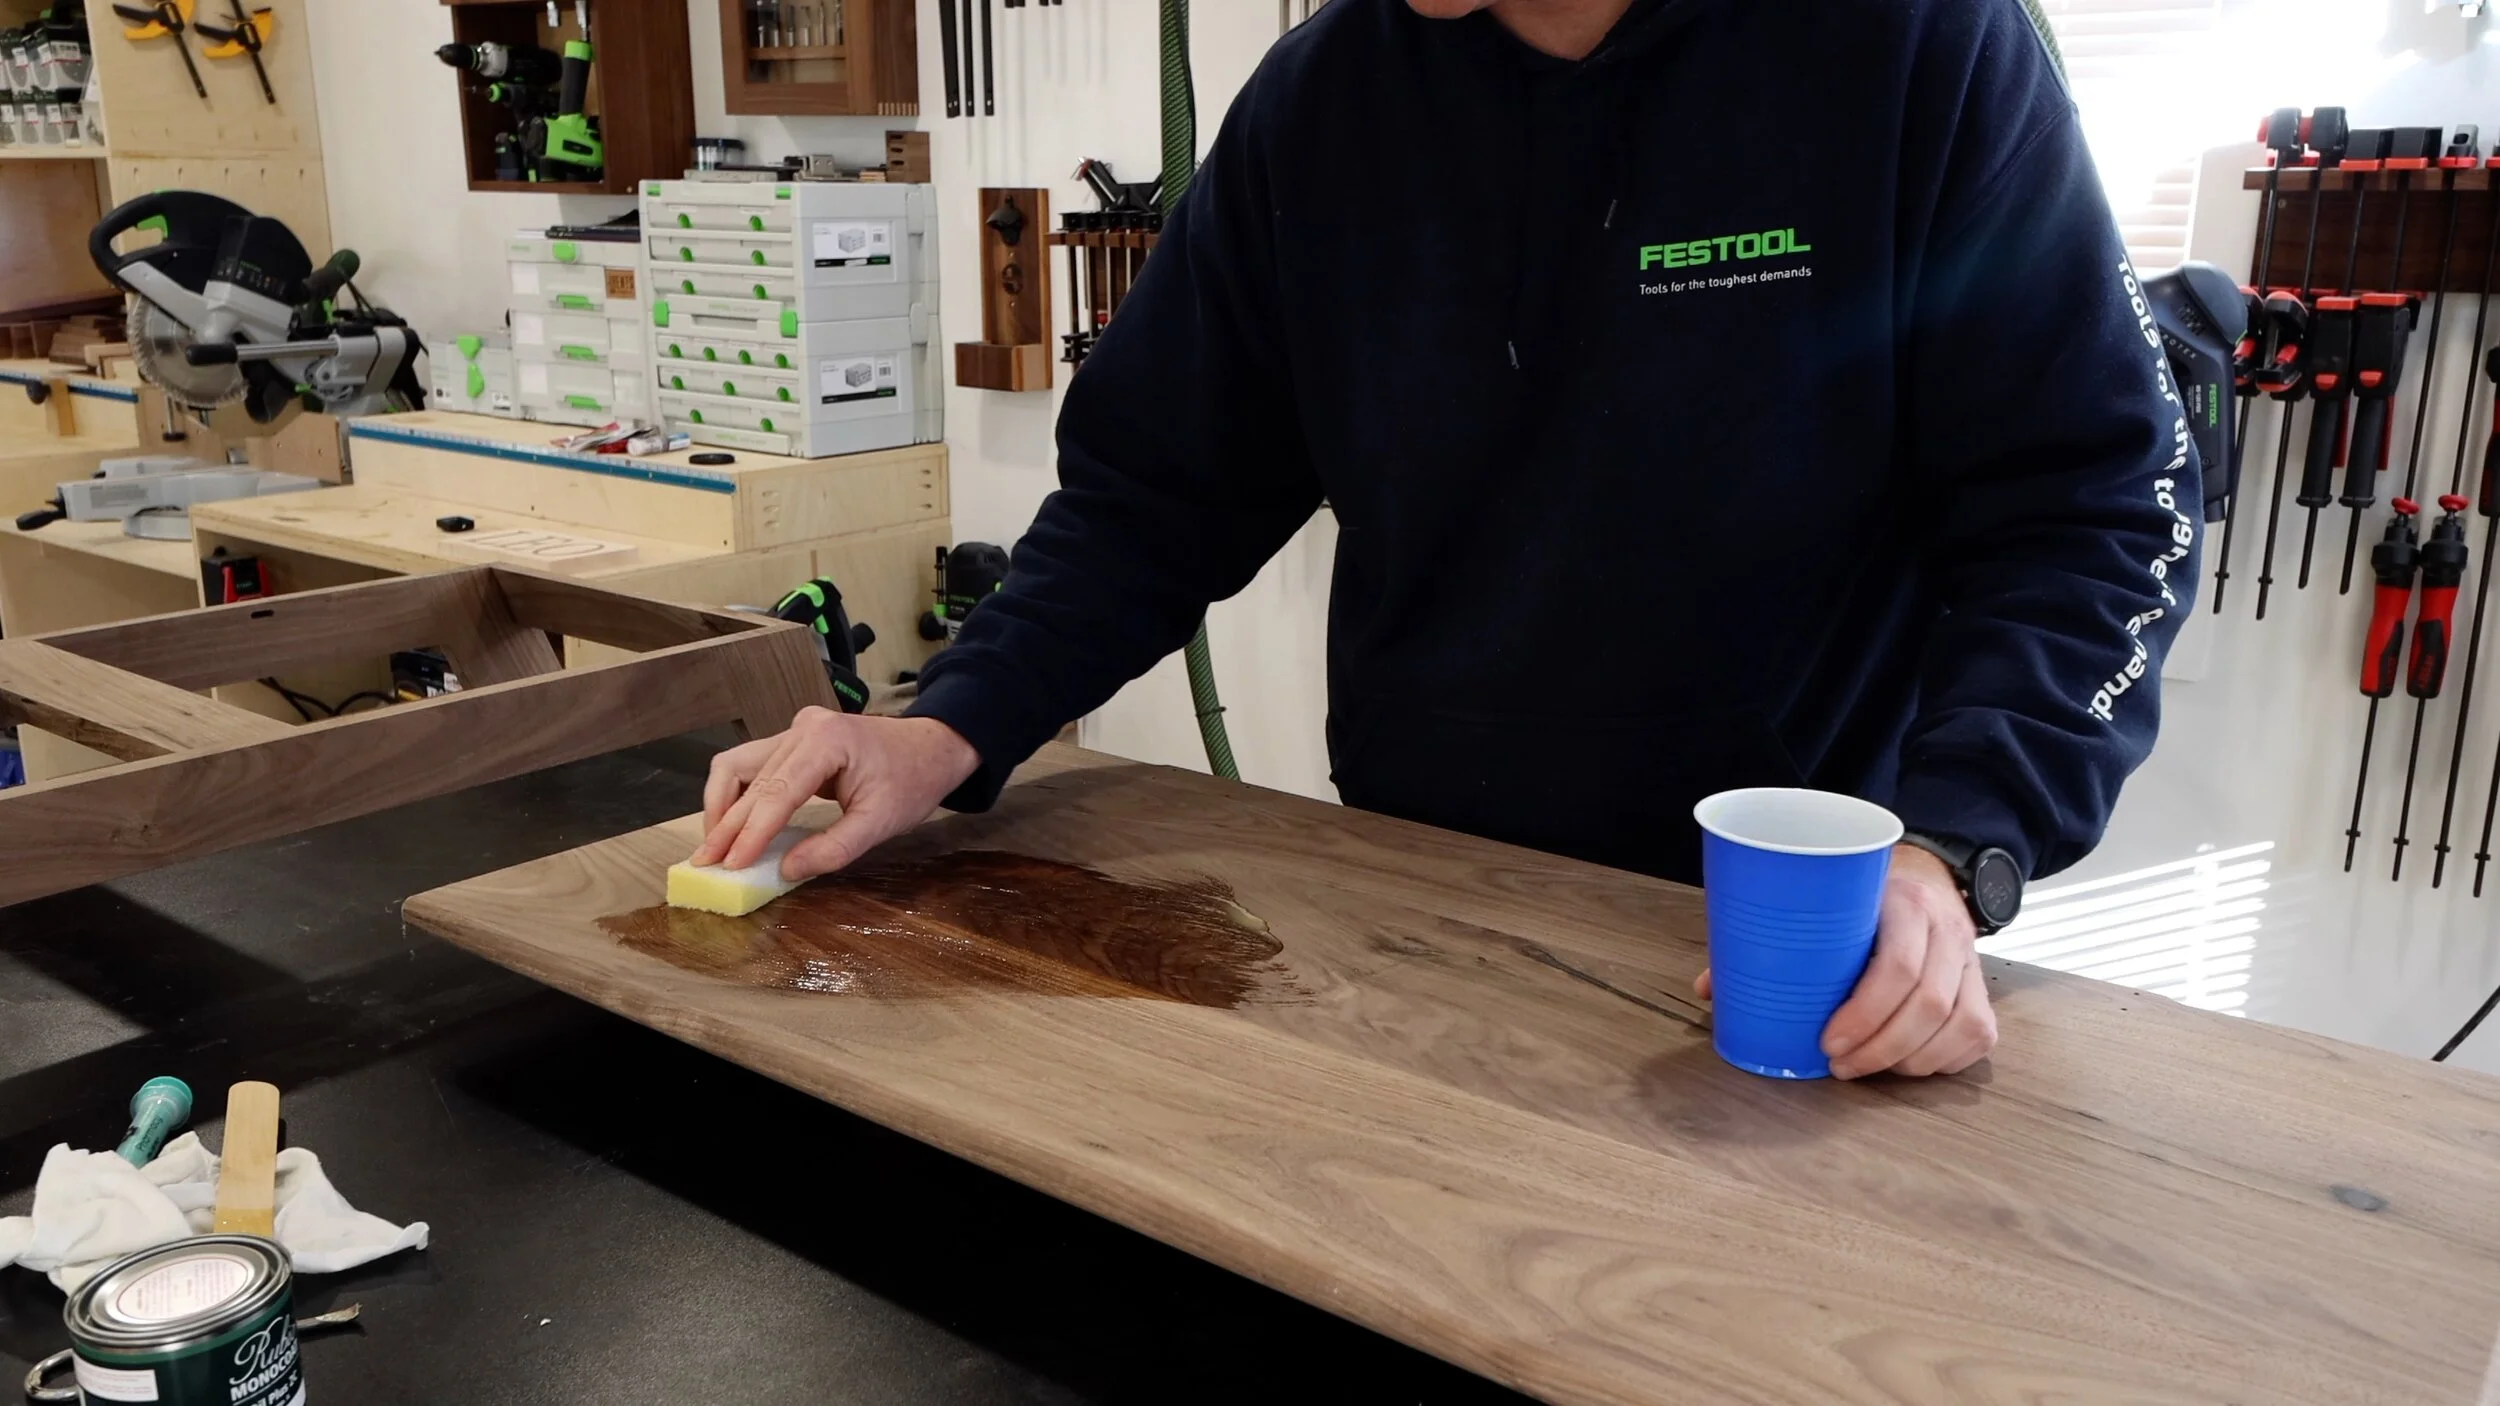
For the finish I used Rubio Monocoat Pure. I use it all the time because I love it. It’s so easy to apply and smells amazing. Out of all the finishes that I use, I like the way that this makes walnut look more than any other. Another benefit related to this project specifically is that Rubio is rated safe for children which is an added bonus on this one. If you want to find out more on applying Rubio click here.
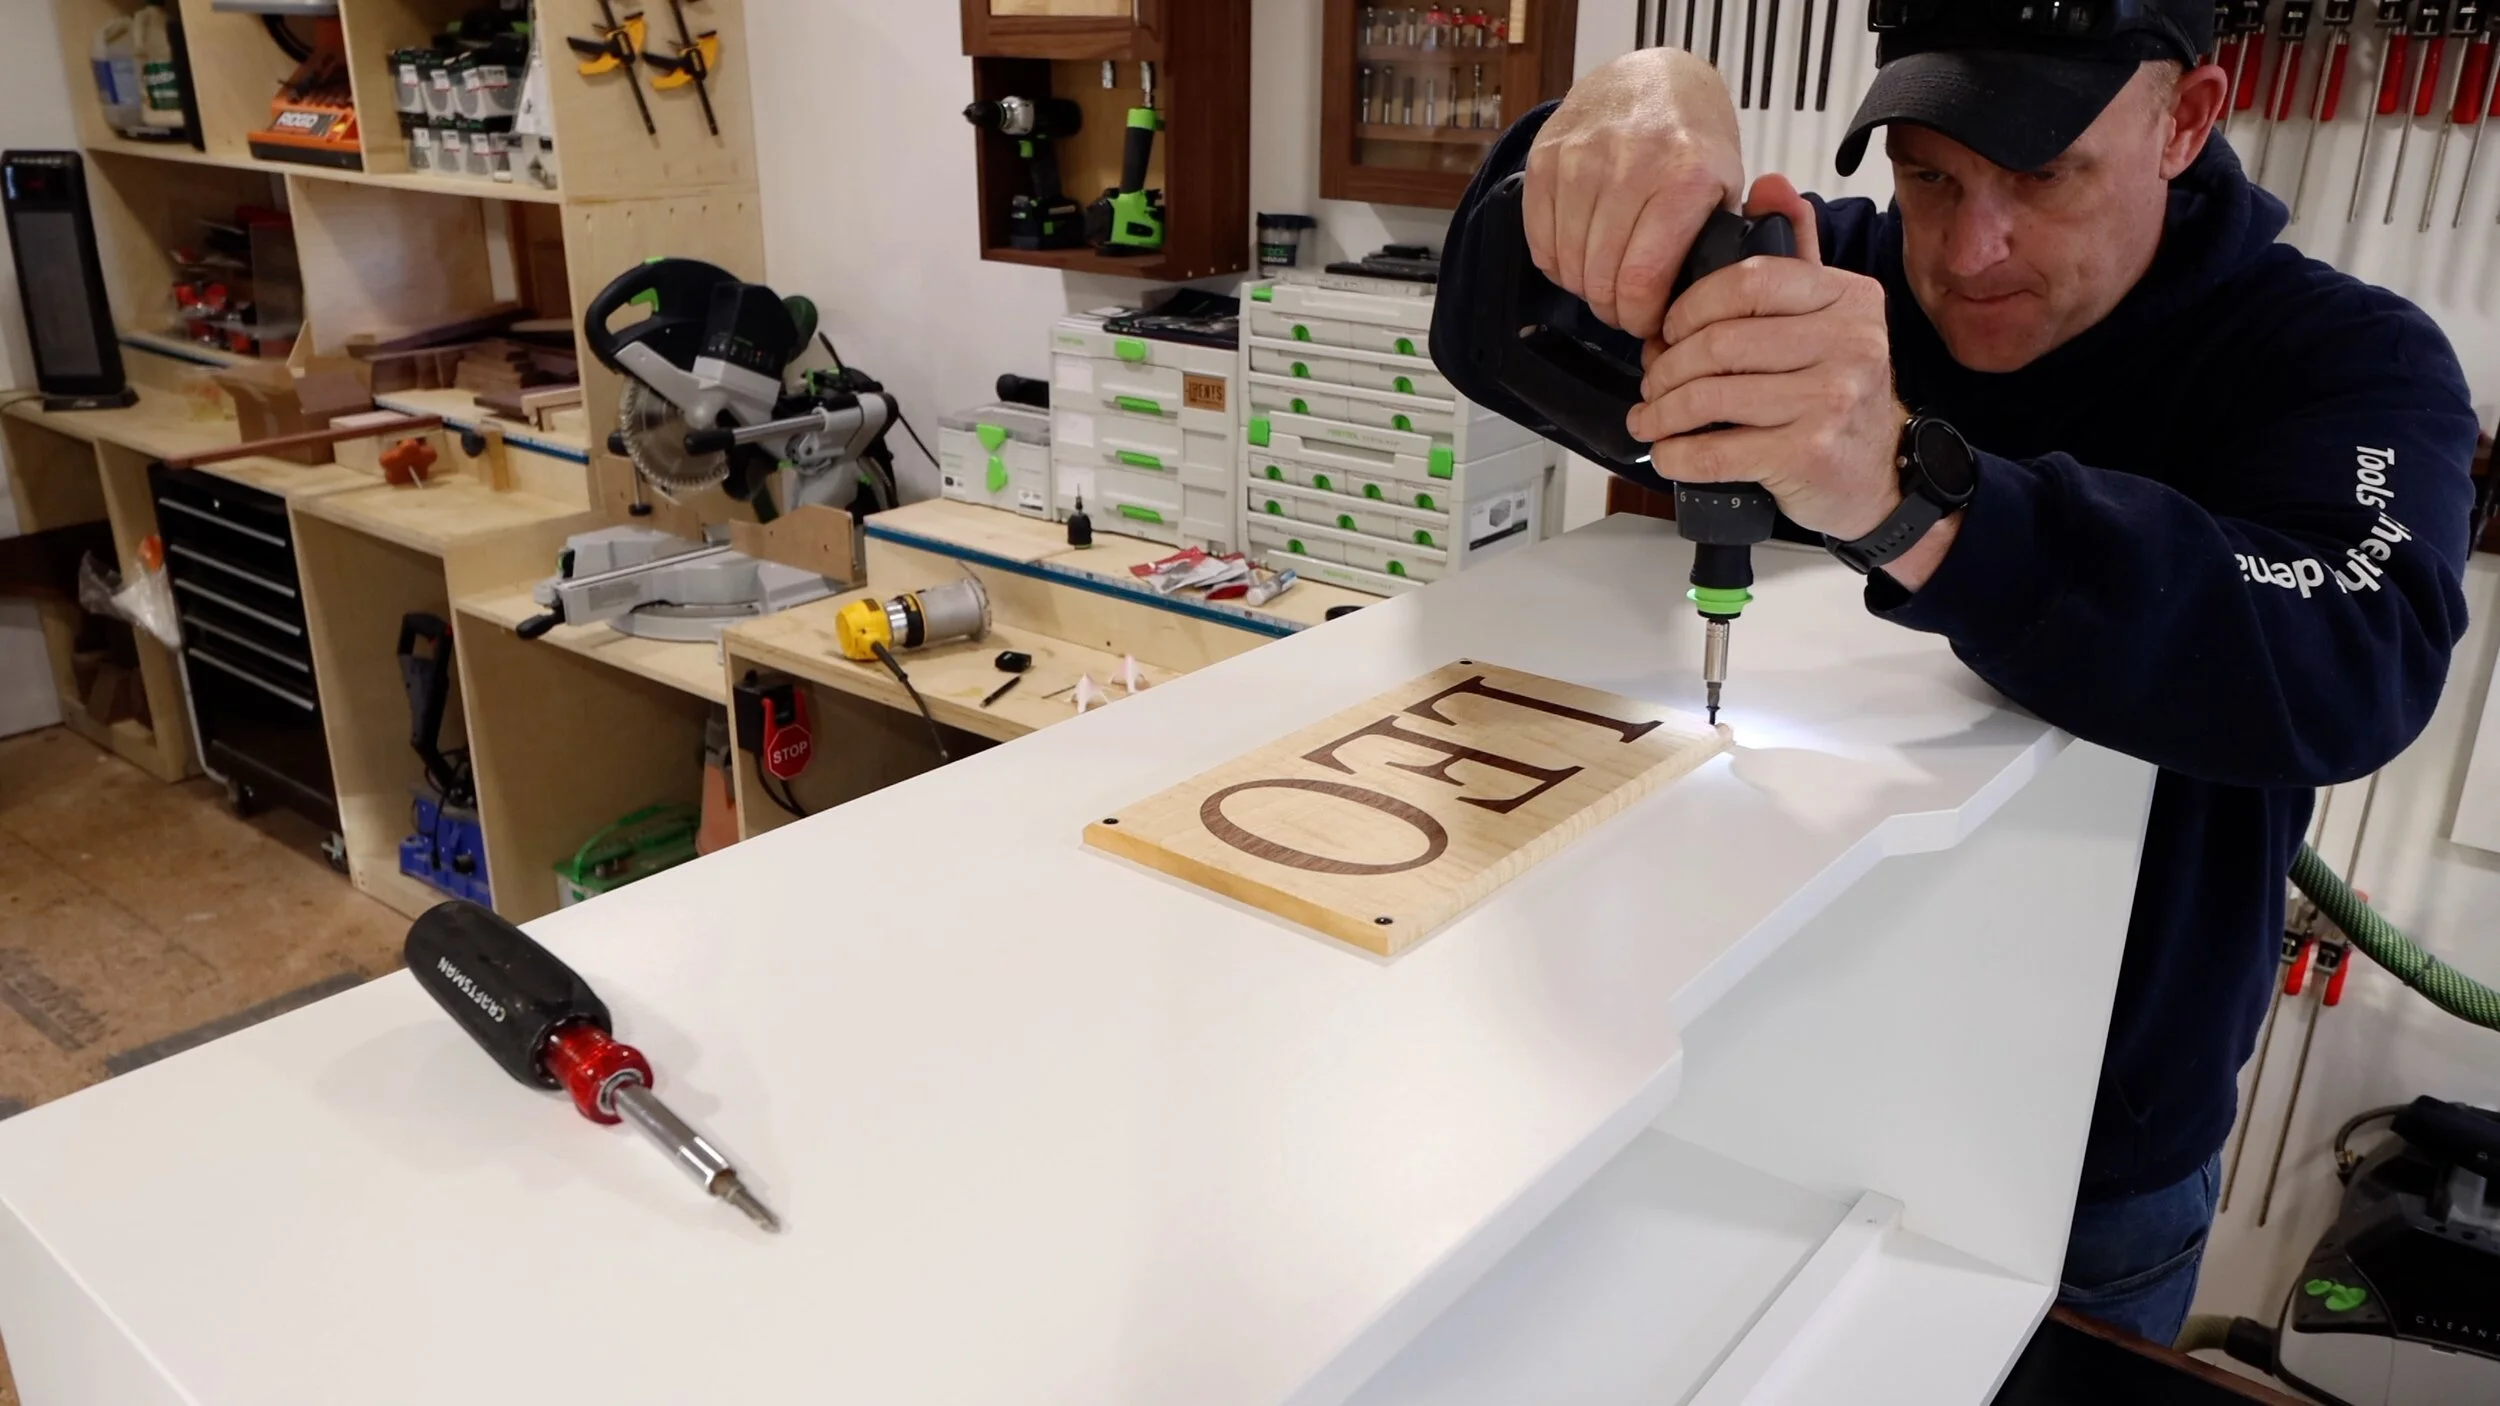
To add the placard, I used a spacer to make sure I was centered and used 4 small black screws in the corners for added decoration.

I lined up my base ensuring it was centered on the bottom of the toy box and then attached it using the domino connectors that I mentioned before. I just added the dominos, then slid each of the blocks onto them. Each one of the blocks that you see here is attached using two screws.

And finally, the last step which was reattaching the torsion hinges and re mounting the lid. The project is finally done and ready to be put in the house and be used for what it was designed for. I had a ton of fun building this project. I got to make something new, I tried a few new things, made a few mistakes and learned from them, and I got to build something for my son that hopefully he will get to give his child one day.I hope you guys enjoyed this first build article. Let me know in the comments if its something that you would like to see more of in the future.


